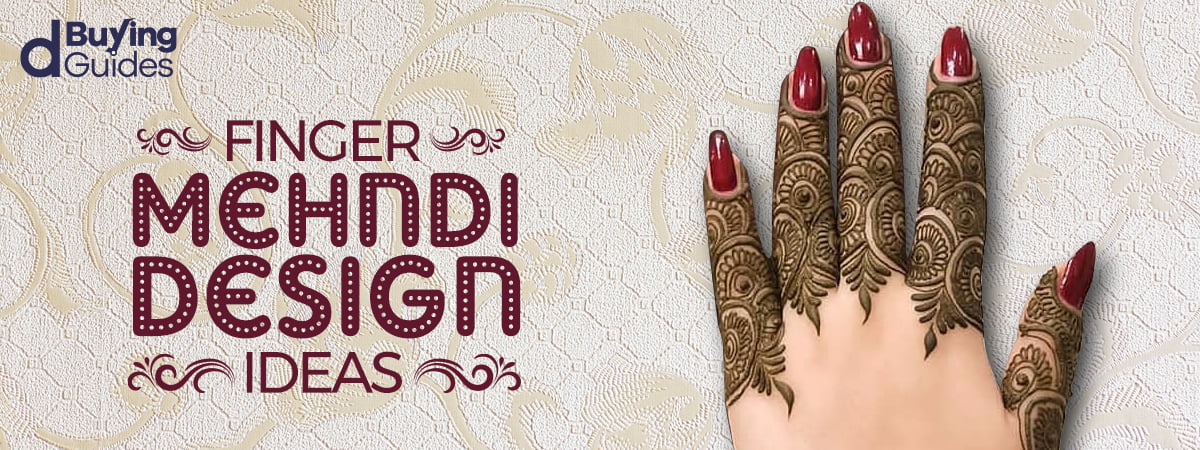
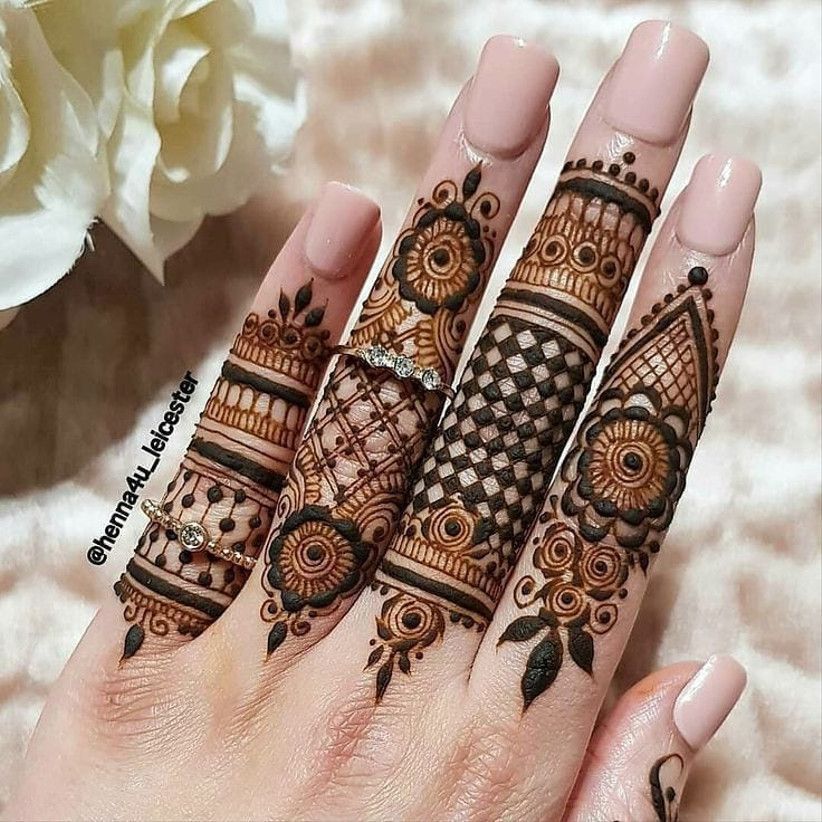
Finger Mehndi Design is one of the minimal art done typically on fingers, unlike bridal or dulhan mehndi design which involves full hand or full leg mehndi designs and at some time it has to be complex and huge in design.
Because of its simplicity in design it always looks more royal and stylish than a hand filled with mehndi design.
Well, you can choose to wear these designs on any occasion as well as you can wear this casually.
This is a generic finger design post. We also have a separate dedicated ring finger mehndi design that is specifically created for ring ceremony or similar occasions. The collection is different than this one.
Based on the various types of designs I have got 75+ Finger Mehndi Designs which are as below.
Scroll down to get all the various images. Just click on any of the image and then you can also scroll through all the images at once.
Royal Finger Mehndi Designs
The word Royal relates to the status of a King or Queen or anyone from the family. Now the Royal Finger Mehndi Design must be such an art that complement your finger to make you look like a Queen.
Of course, practically there are other aspects to the attire, but I am only talking here about the finger mehndi art that we are going to do.
Below are some of the Royal Finger Mehendi design ideas I have collected for you. Let’s start with the best.
1. The Royal Arch Finger Design
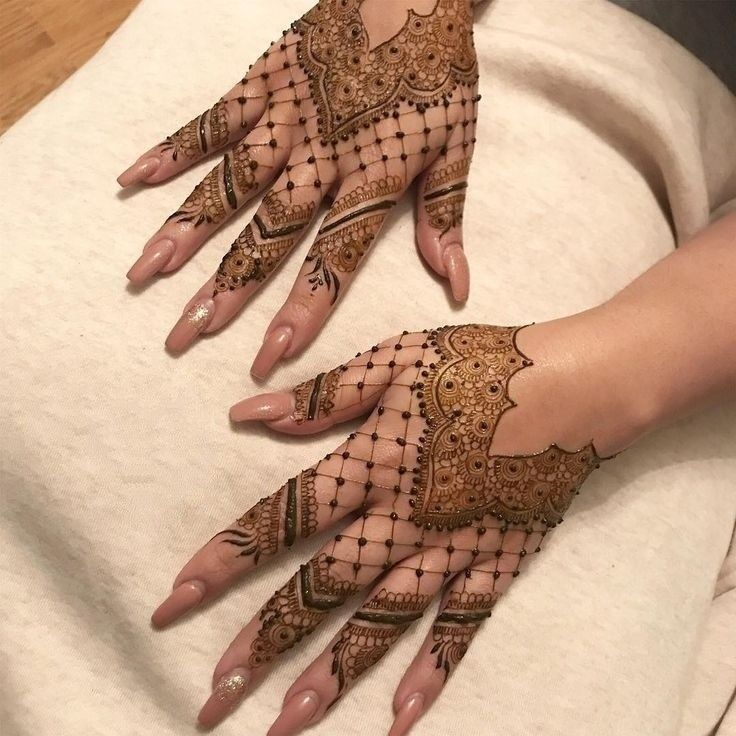
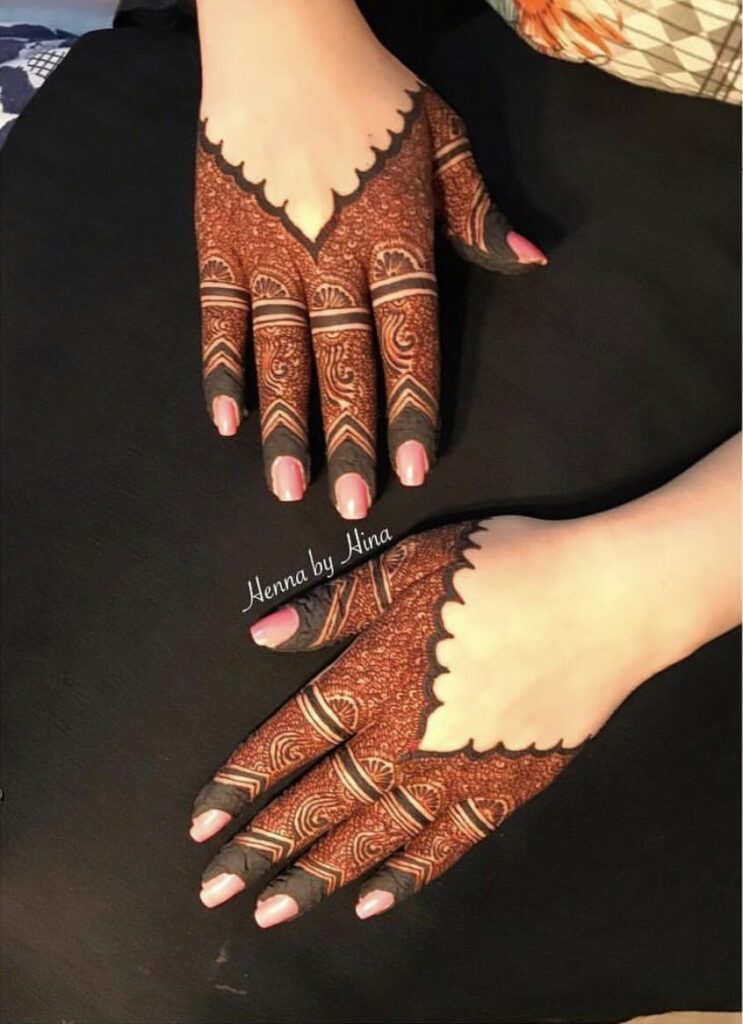
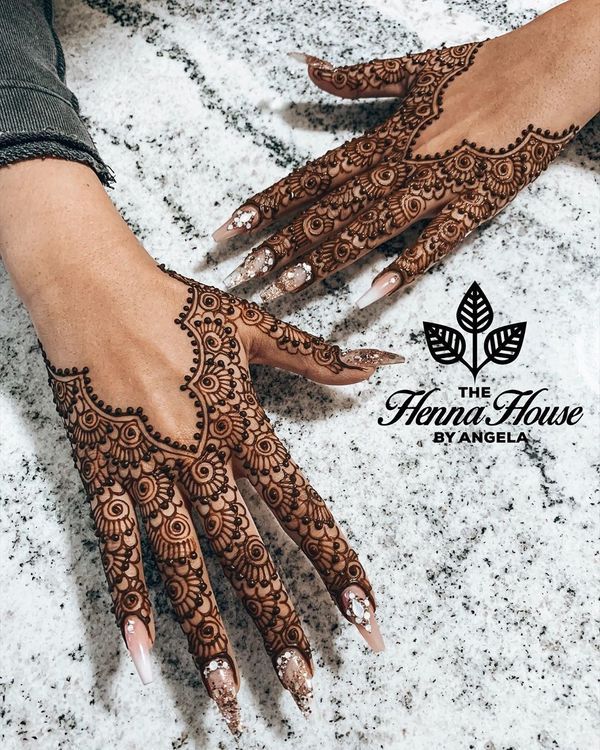
The Royal Queen must get the Royal look, and this is definitely a perfect start.
This design is pretty simple, which has a royal arch design on the backside of the hand and it continues the arrow design till it reaches the fingers. You can start making the art either from the arch side or you can start it from the fingers.
If you look close, each finger has a different mehndi design on this.
2. The Royal Rose Finger Mehndi Design
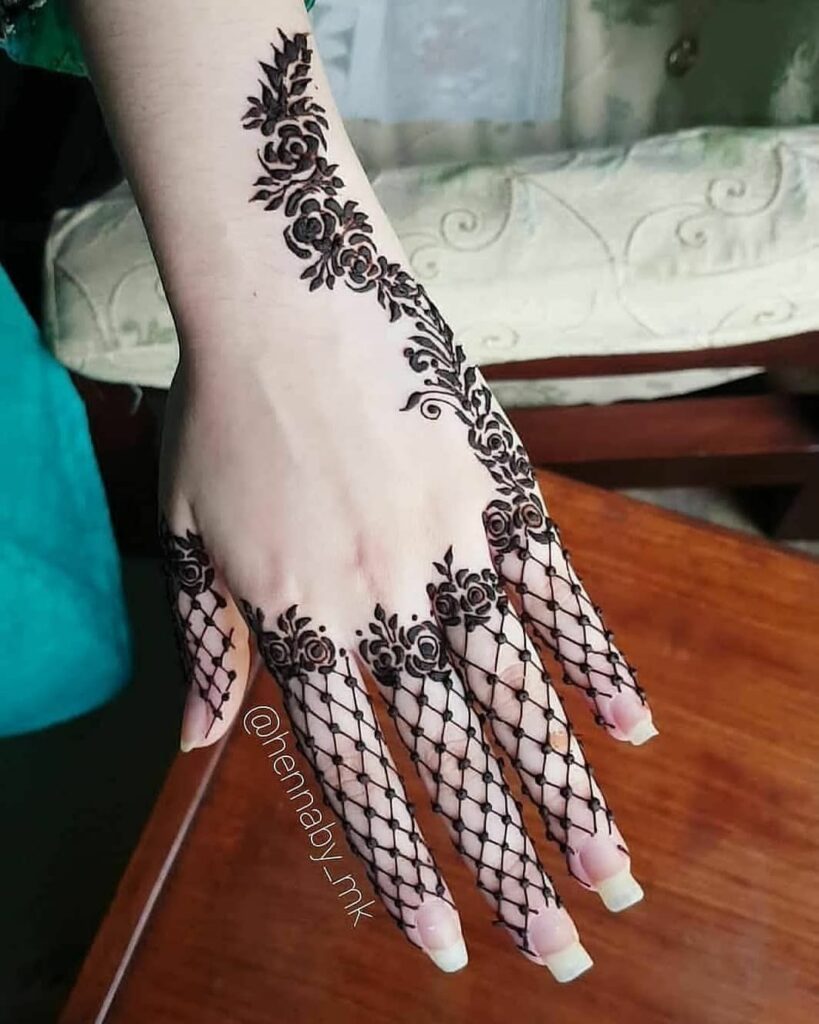
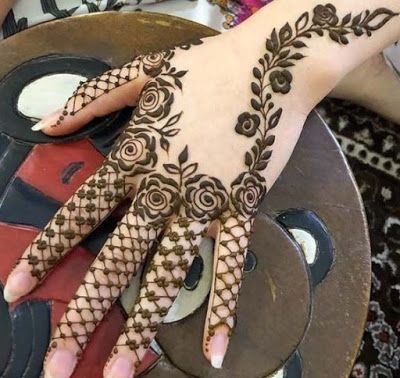
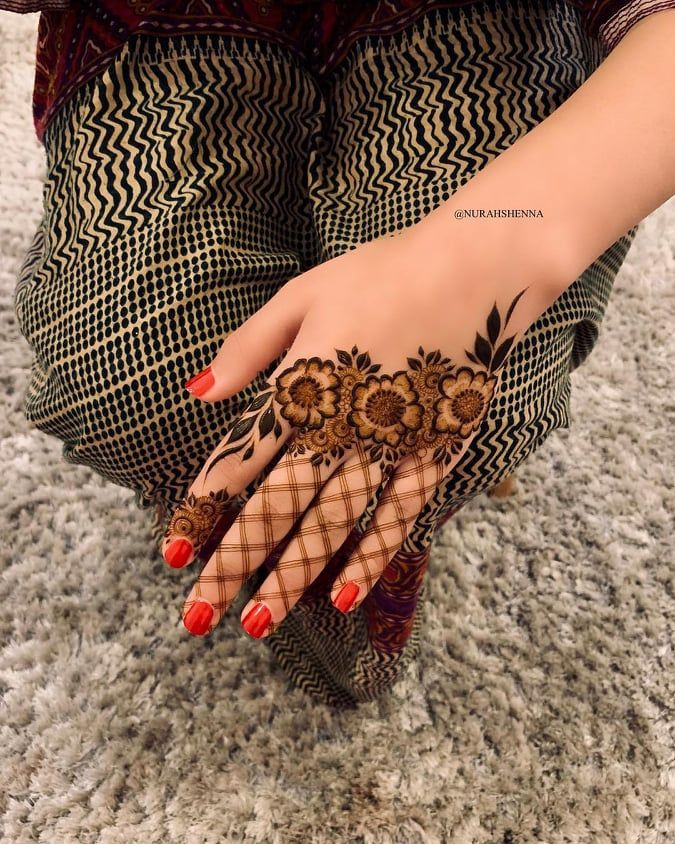
The next I have chosen the Rose design with net like art. The net like design represents the white net wore by queens and the Rose is a flower which is wore on the head or near the heart.
All these design are mostly similar with minimal changes.
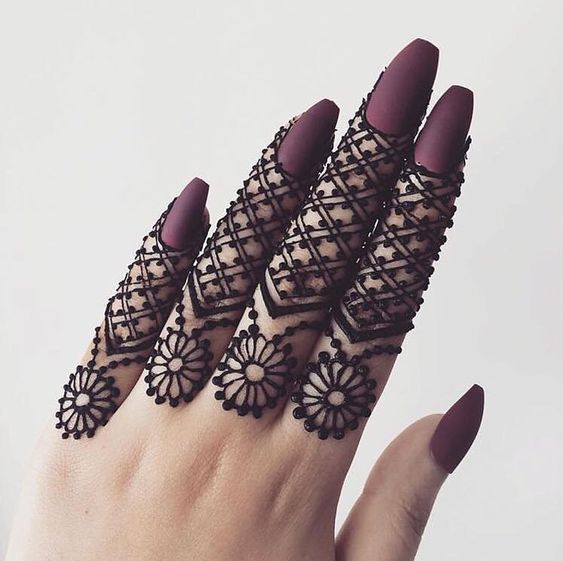
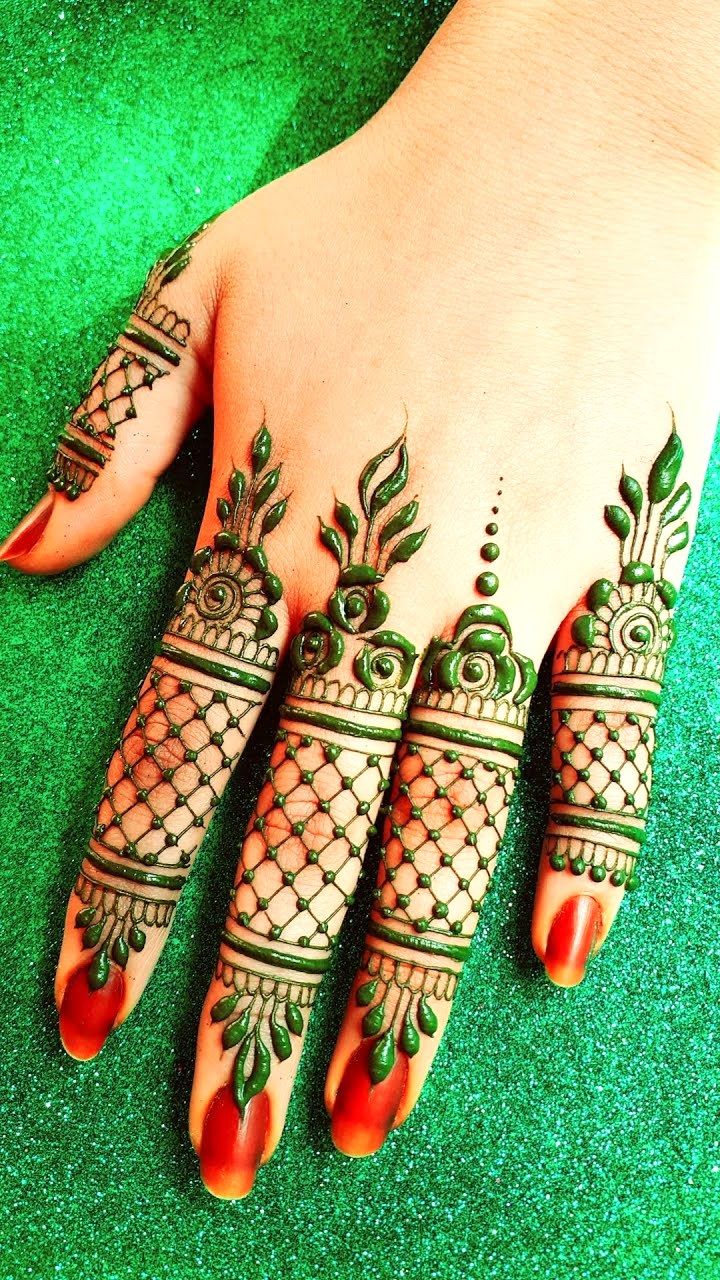
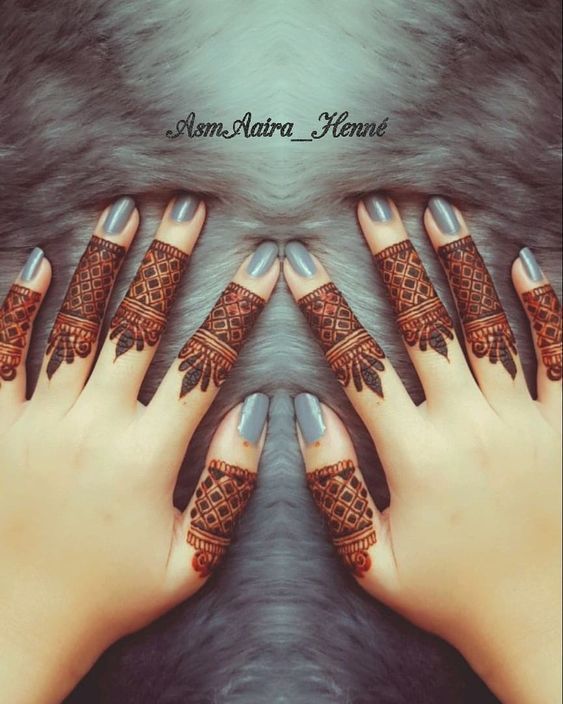
The fingers are designed with net style pattern with cross lines and dots at the junction. At the end of it there is a Rose flower design.
The Royal look comes from the continual Rose pattern done at the end of the little finger.
3. Easy Royal Finger Mehndi Design
One of the easiest way of drawing is geometrical patterns which we have learned since our childhood.
Based on this, I have selected several easy finger mehndi designs which follow similar patterns.
The below design has only cross lines which is why I it as one of the easiest royal finger design pattern.
You can either start from the nail and end it at the finger starts or do the vice versa.
- Start by creating a curve following your nail and skin border.
- After that start making 2 close parallel lines. Then add a little more space and pull 2 more parallel lines.
- Continue this till the middle space of the finger
- Once that is reached, draw a triangle towards your hand.
- Just above that make a flower.
- Then connect the flower to the triangle arrow shape with dotted line or as you wish.
- In the end you can create dots on the 4 corners of the square formed at the cross joints which marks the completion of this easy finger royal mehndi design art.
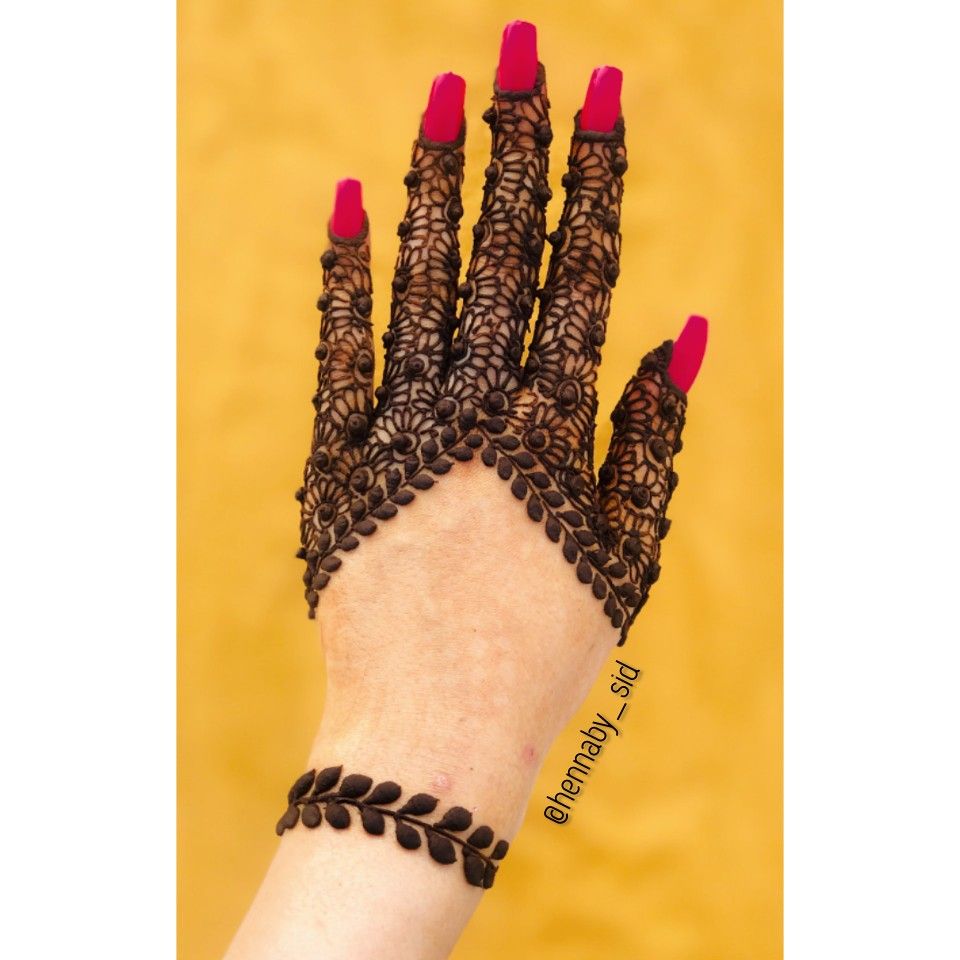
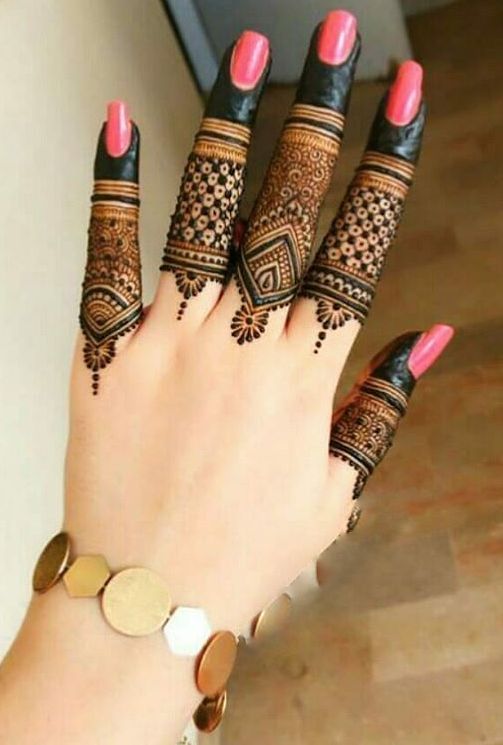
Like above, see the below images and get started either from the nail or from the starting of the finger.
Understand the pattern first, decide the starting point and draw as per the image.
If you want me to explain, please leave a request in the comment section and I will be happy to explain how to draw each design.
4. Other Collection of Royal Finger Mehandi Design
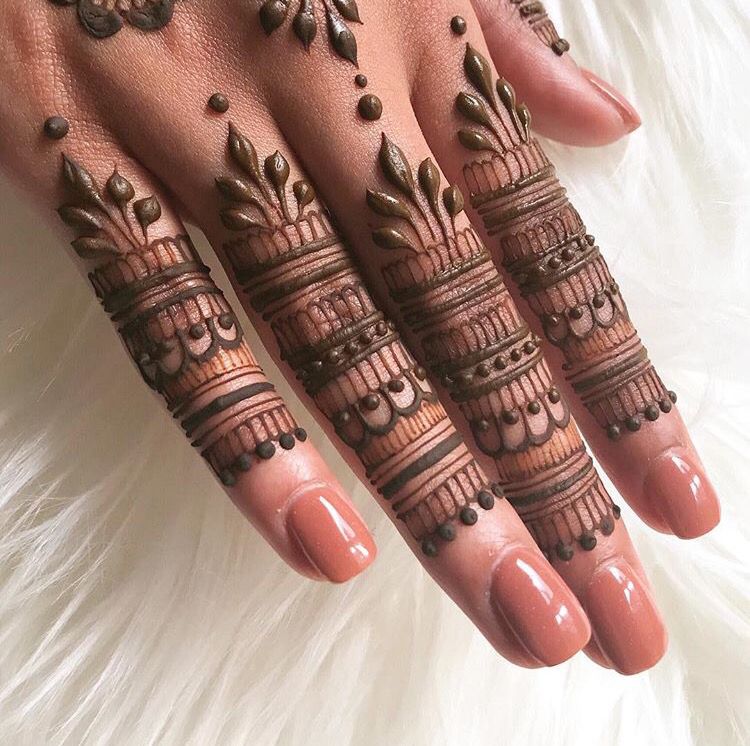
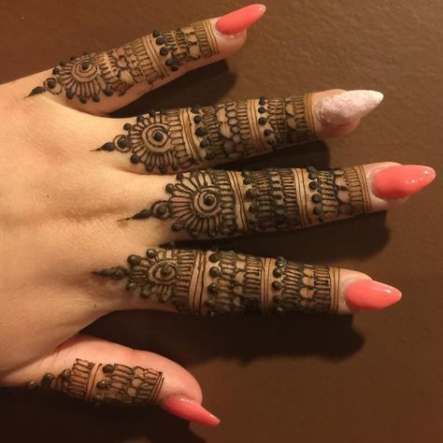
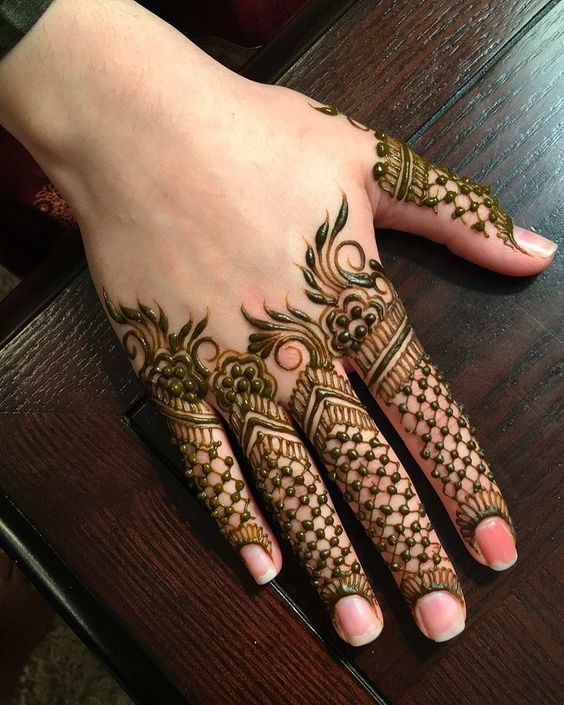
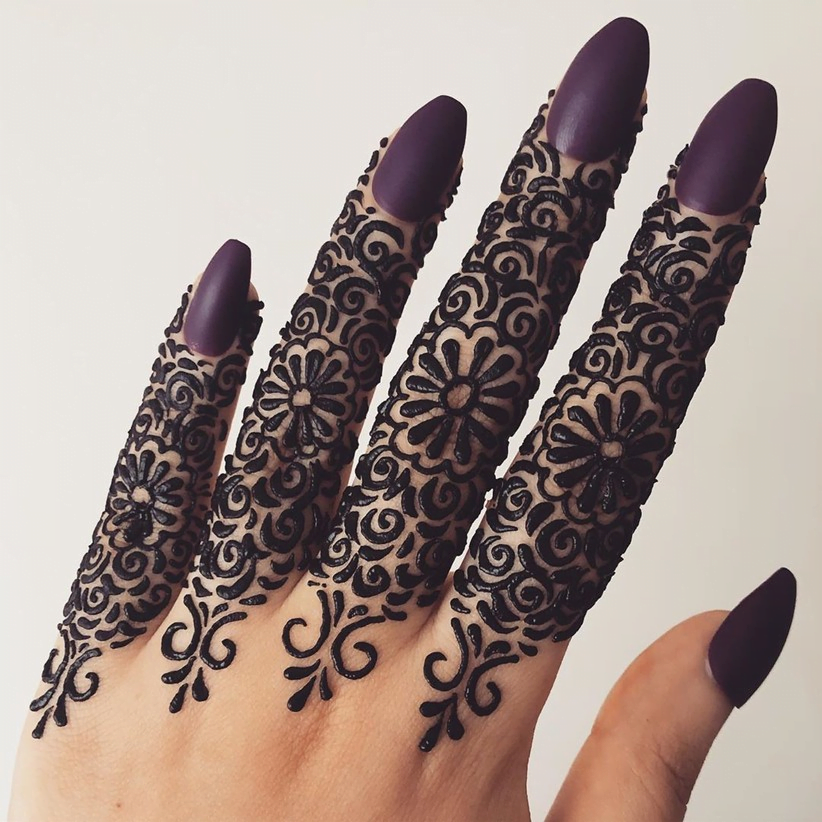
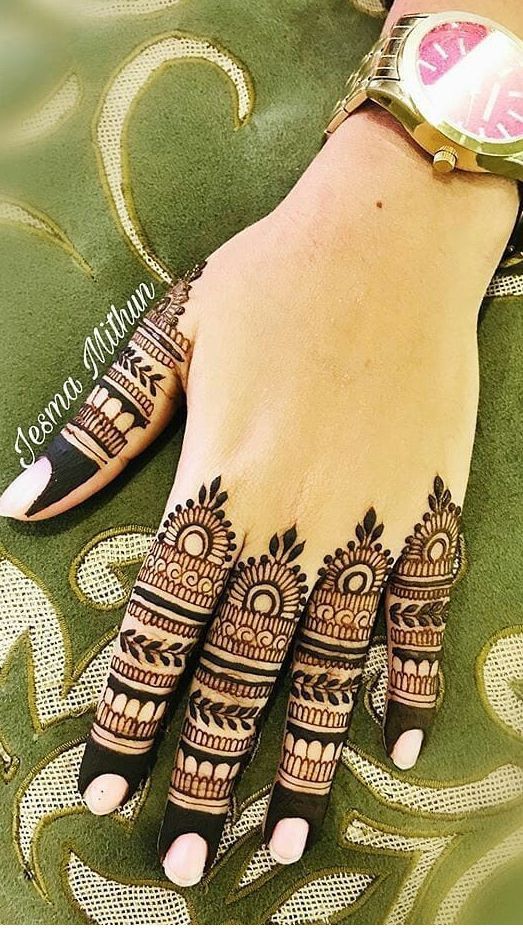
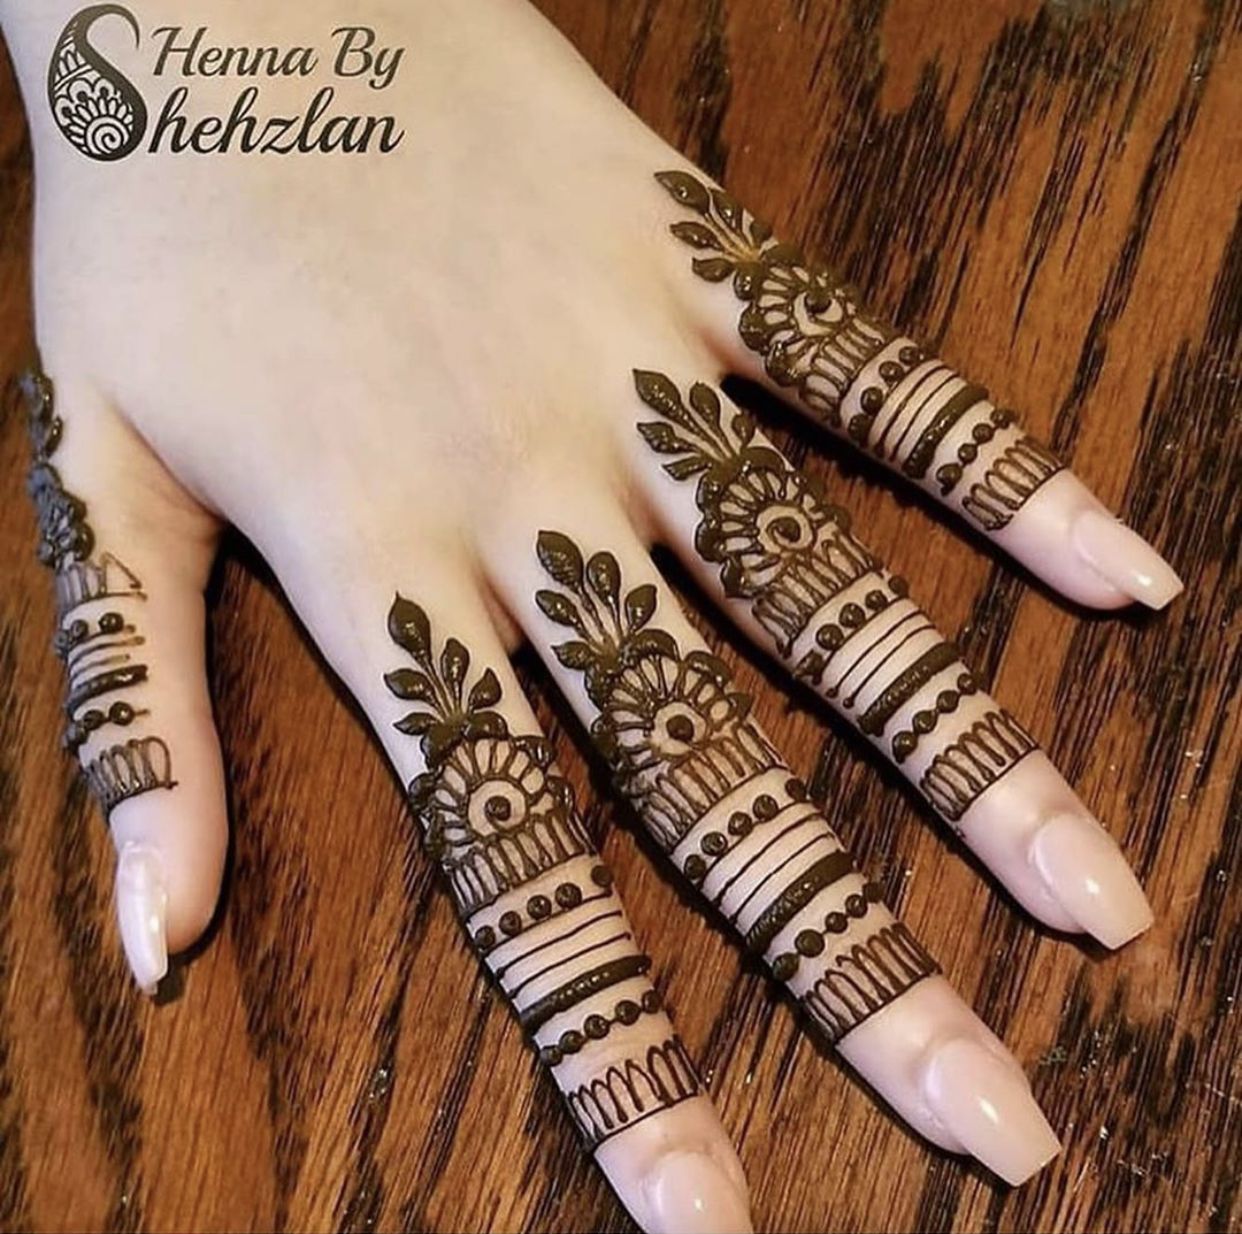
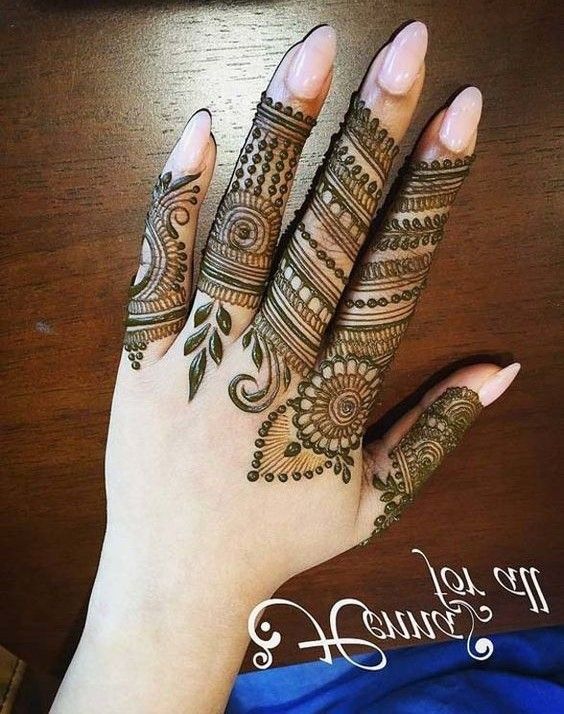
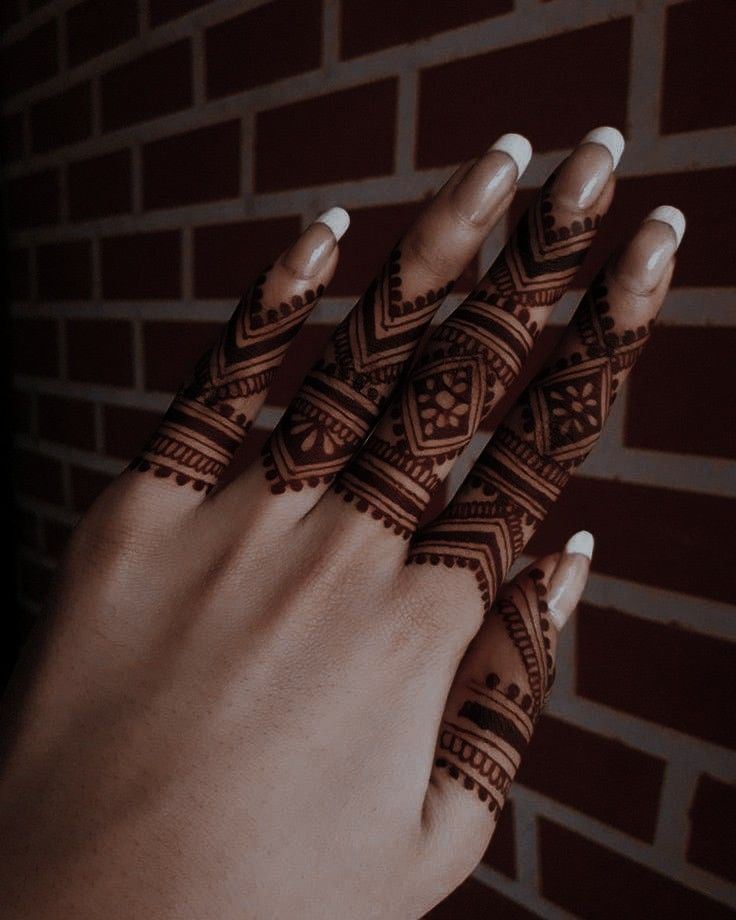
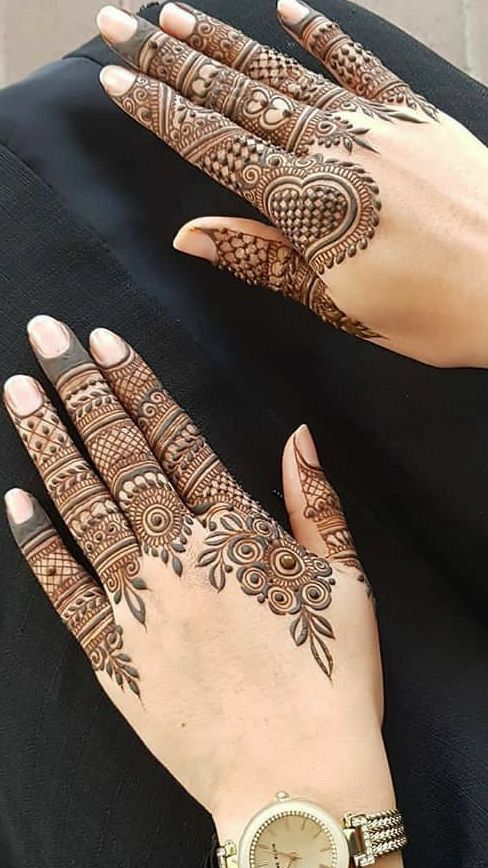
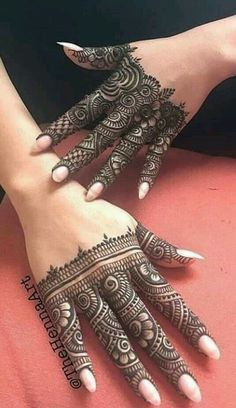
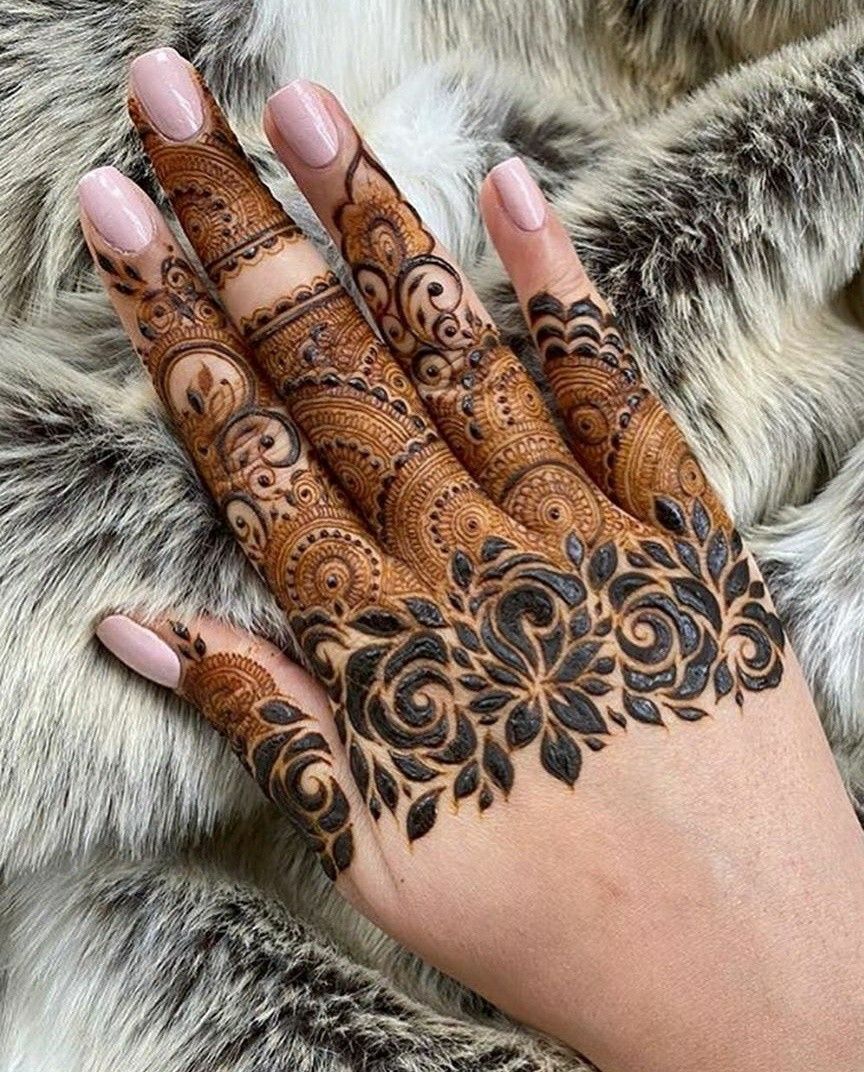
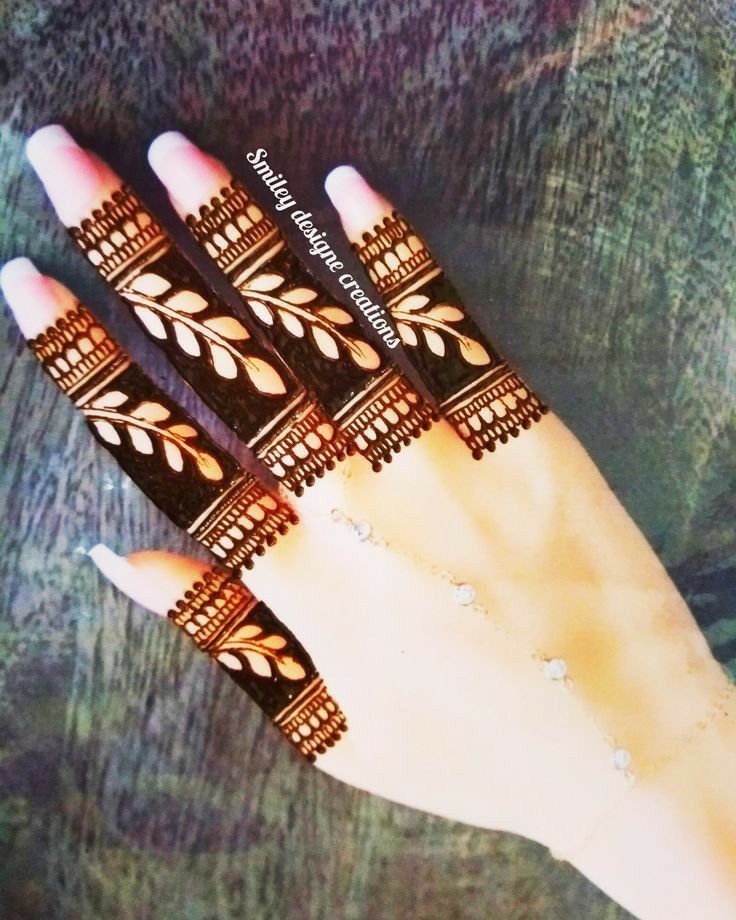
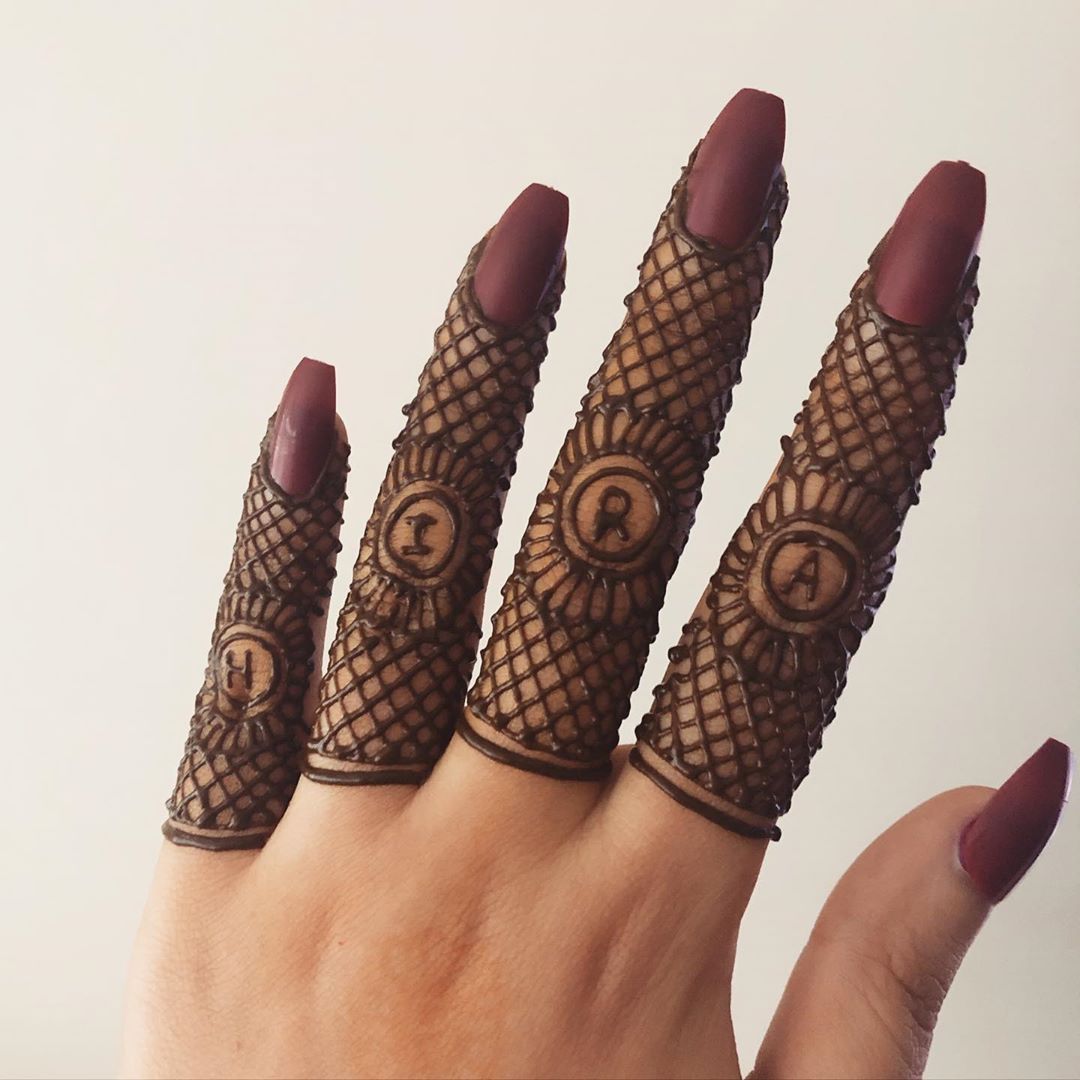
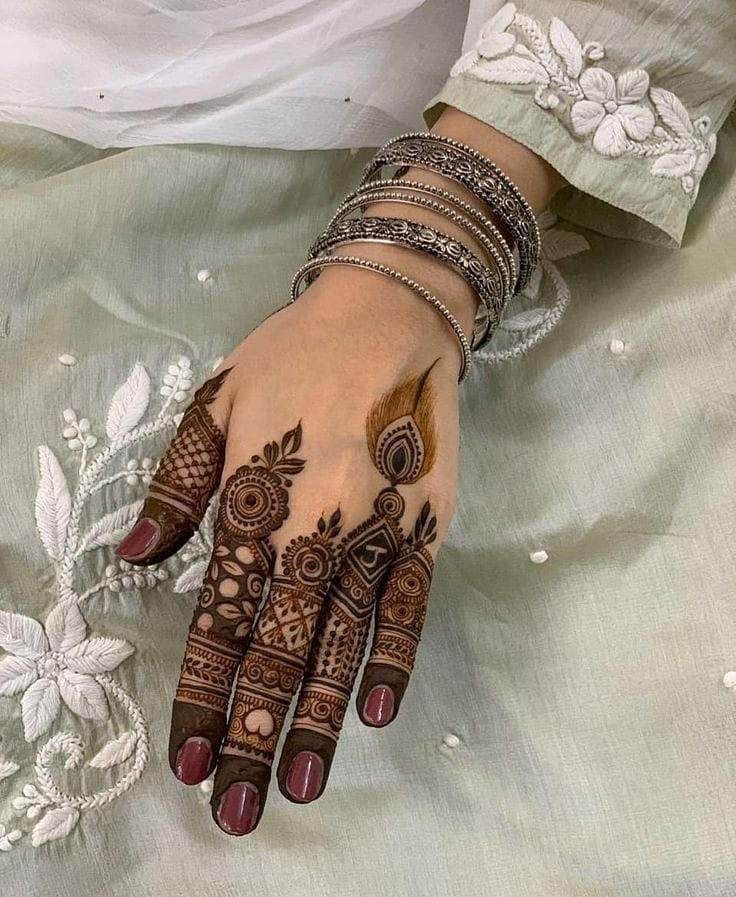
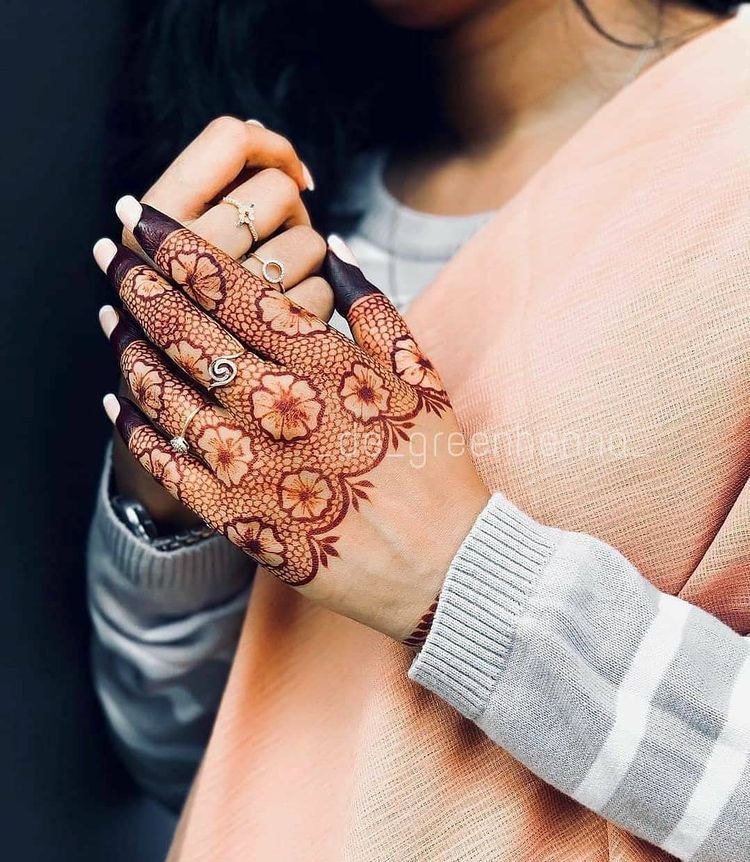
Below I have collected a gallery full of different types of royal finger mehandi design ideas. Select the image and zoom in to take a closer look.
Stylish Finger Mehendi Design
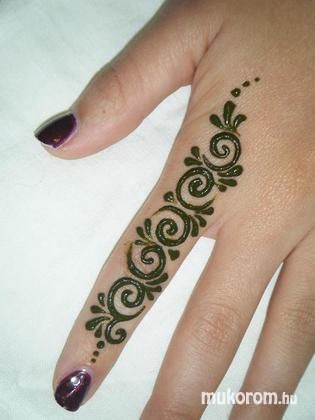
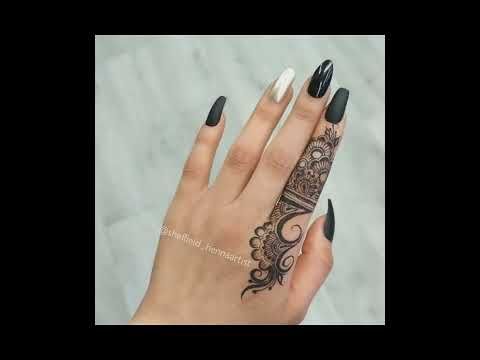
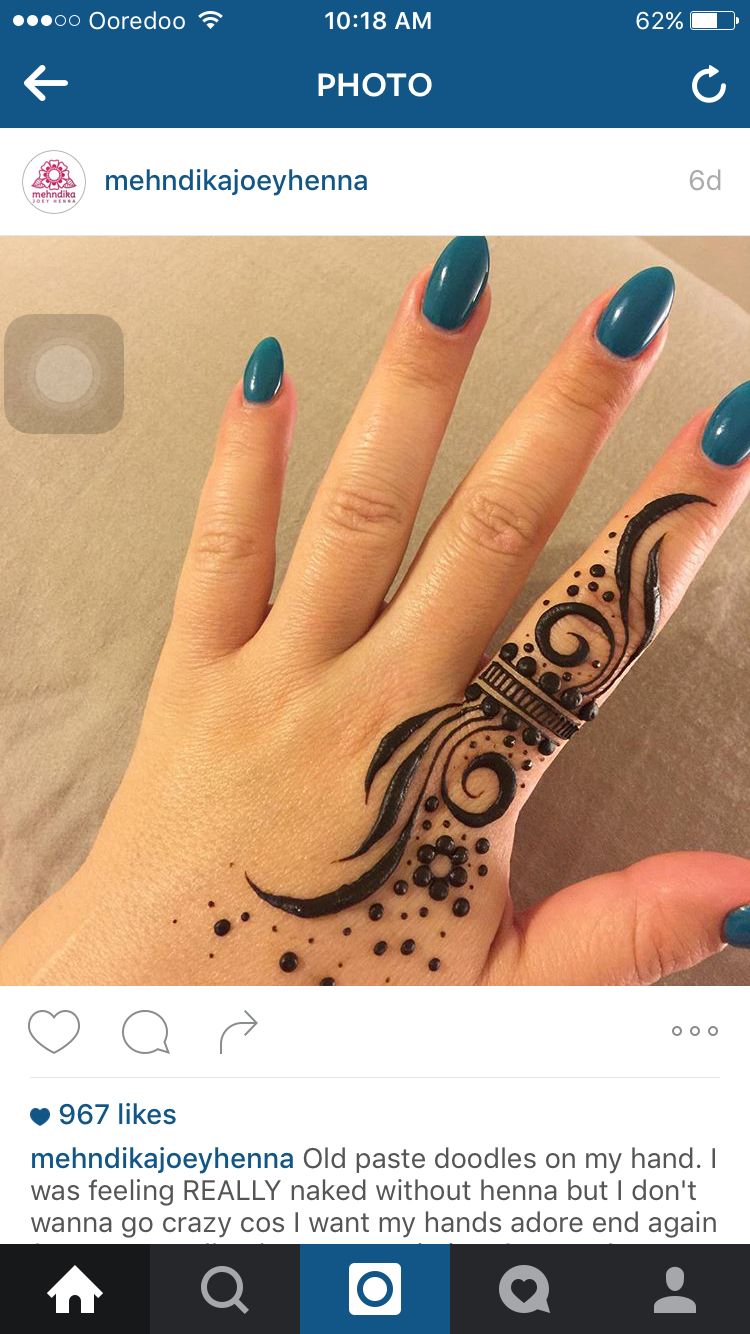
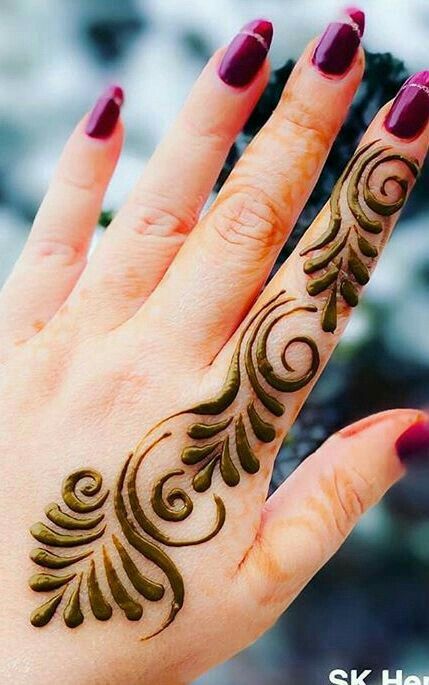
A Stylish design gives you versatility to mix match different kinds of patterns to create the most stylish finger mehndi design. They say “every odd is a style“.
Of course you you can use any Royal finger design to match your style but still this category of collection is different than from where I see.
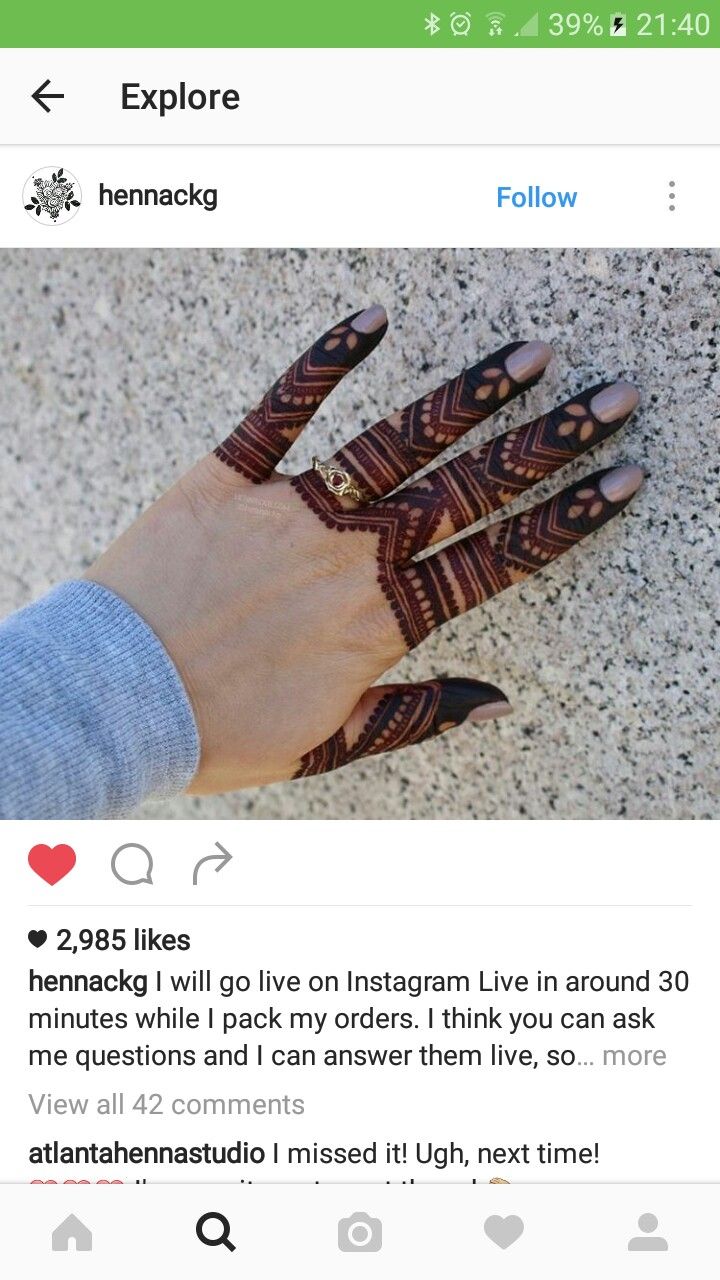
As per the literal meaning of stylish it is fashionable, elegant and sophisticated. Having said that, I have collected several Stylish Finger Mehndi Designs those will suit your fashion as well as elegant in look.
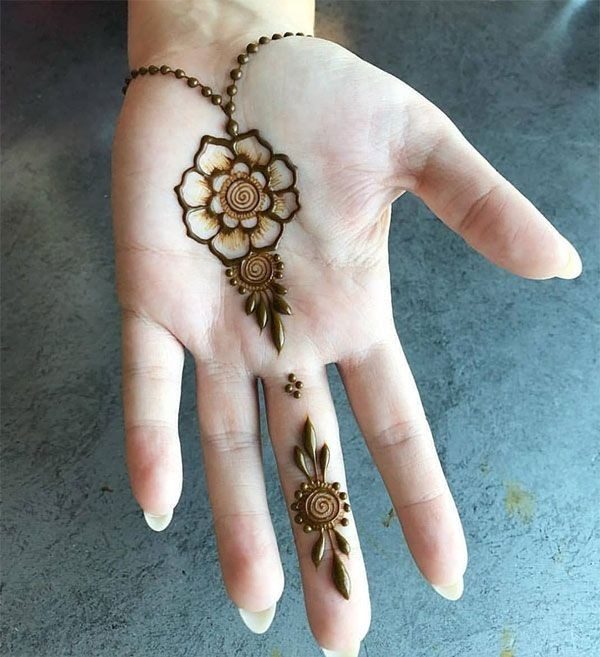
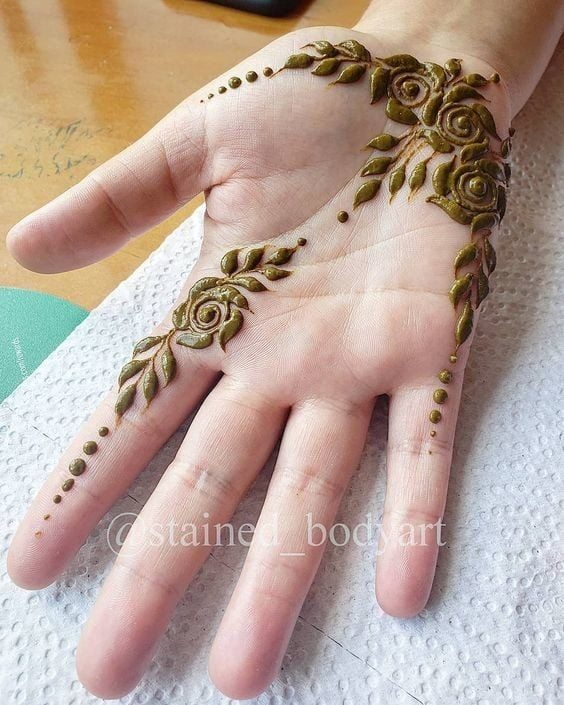
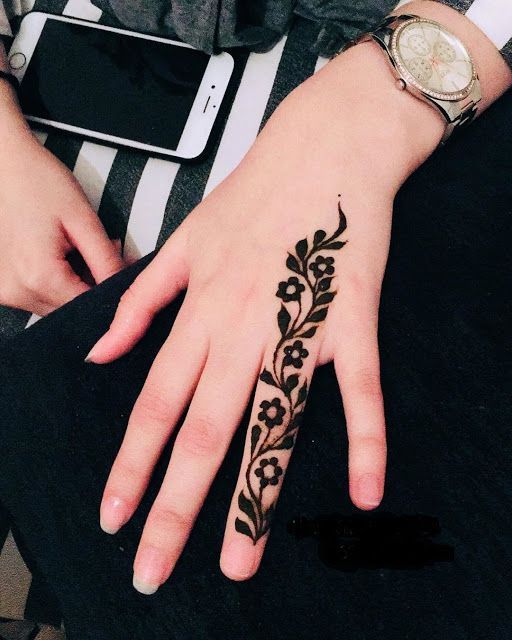
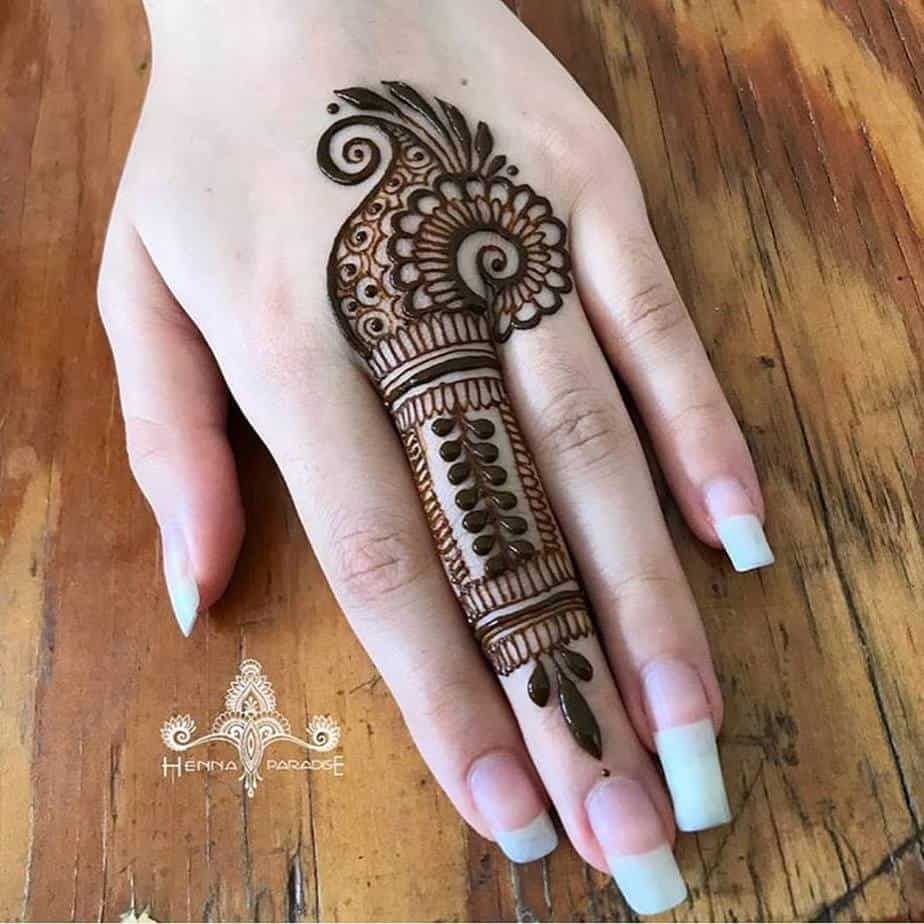
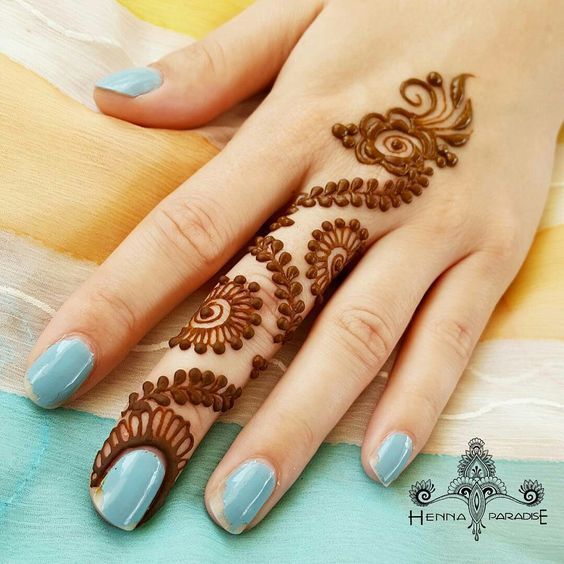
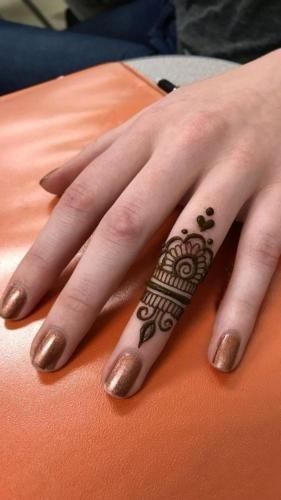
1. Stylish One Finger Mehndi Design
2. Other Collections of Stylish Finger Mehndi Design
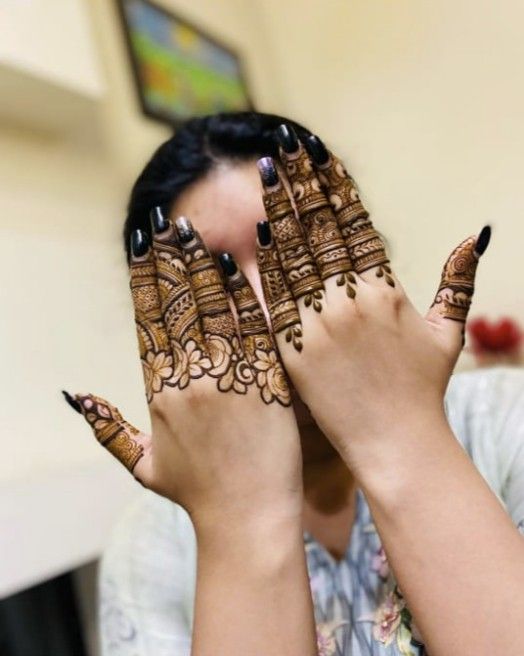
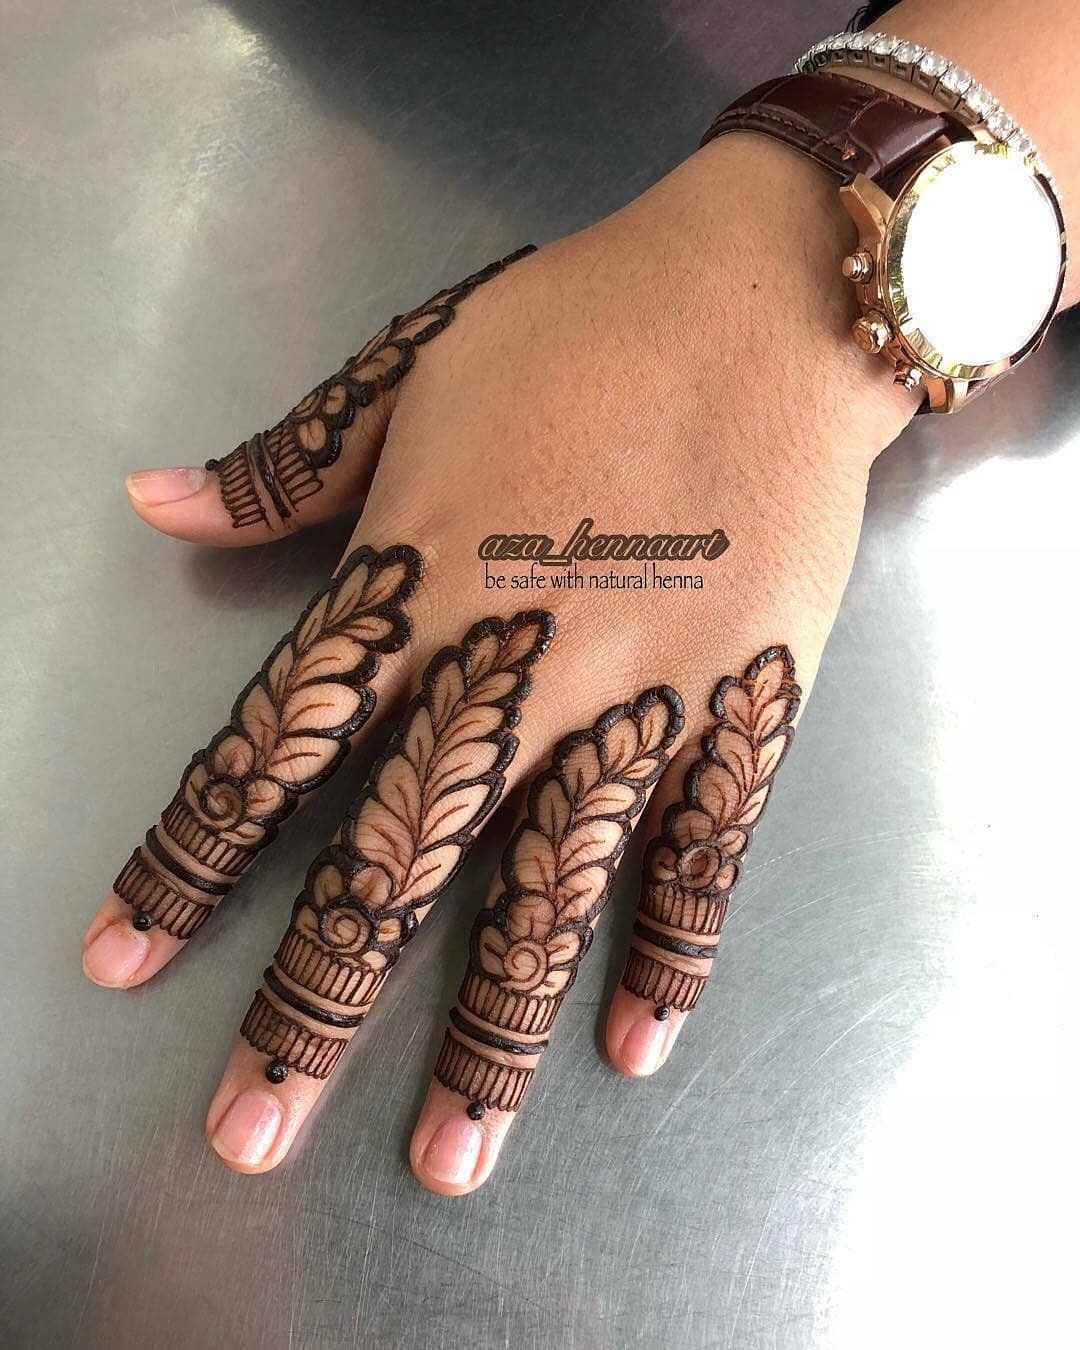
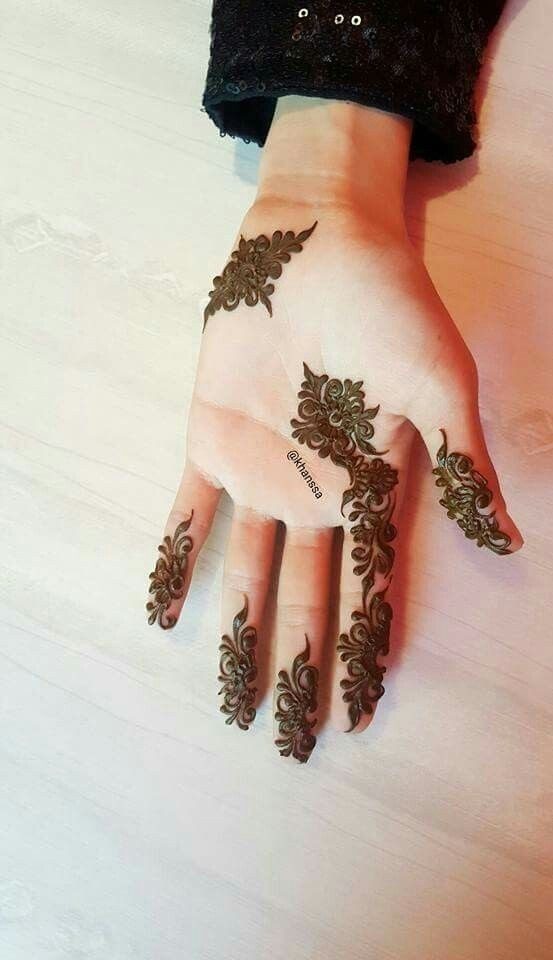
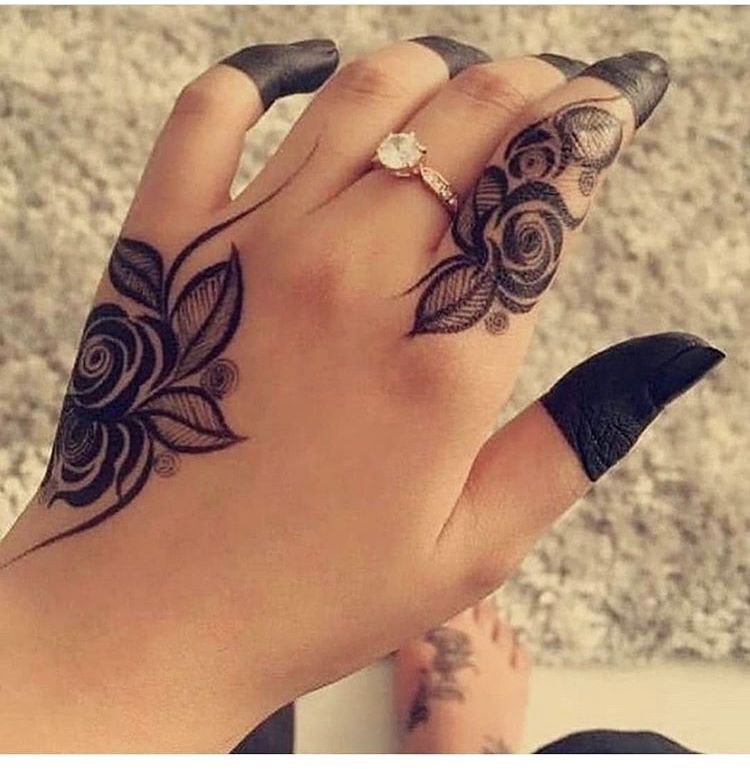
I have made a collection of more than 15 images under stylish finger mehndi design. All of them are unique in pattern, modern in design and will definitely look elegant on your fingers.
Click on an image, zoom to get the art details.
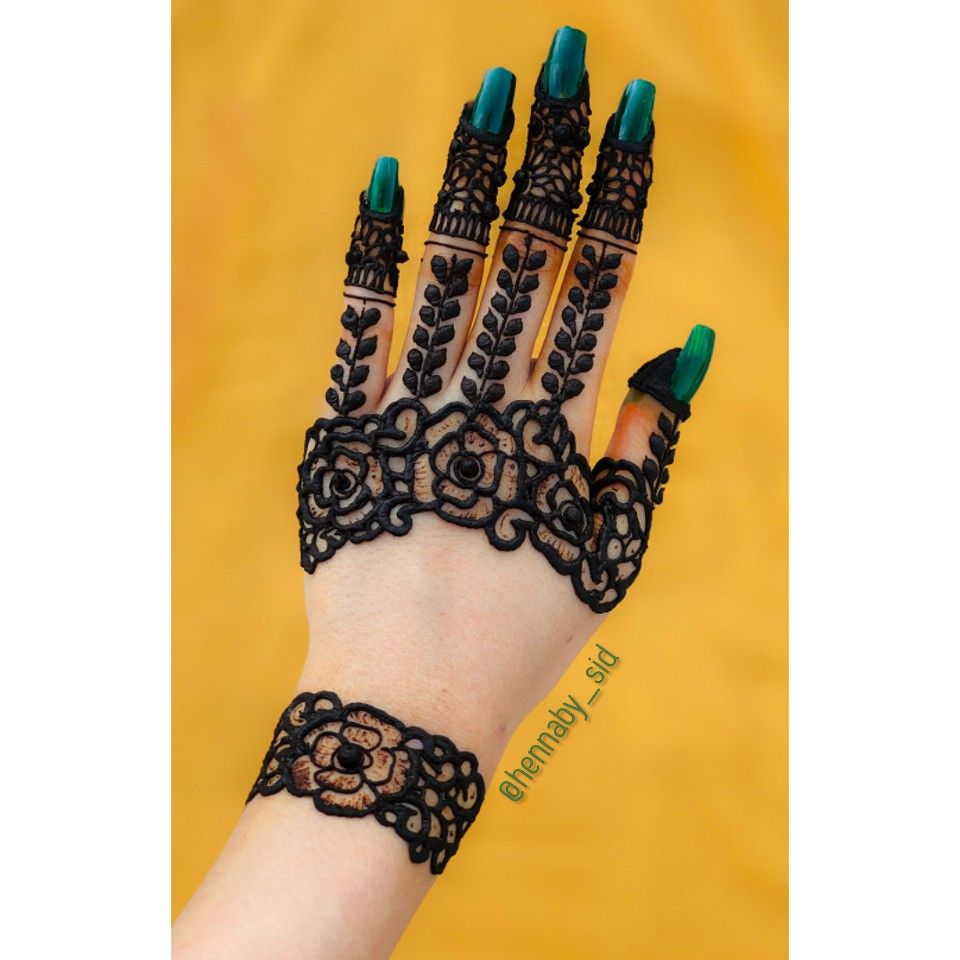
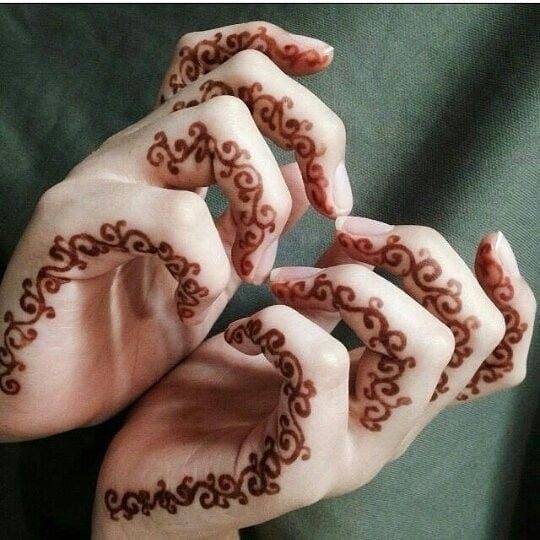
Easy and Simple Back Finger Mehndi Design
Most people are looking for Easy and Simple finger mehndi designs which anyone can do it by themselves.
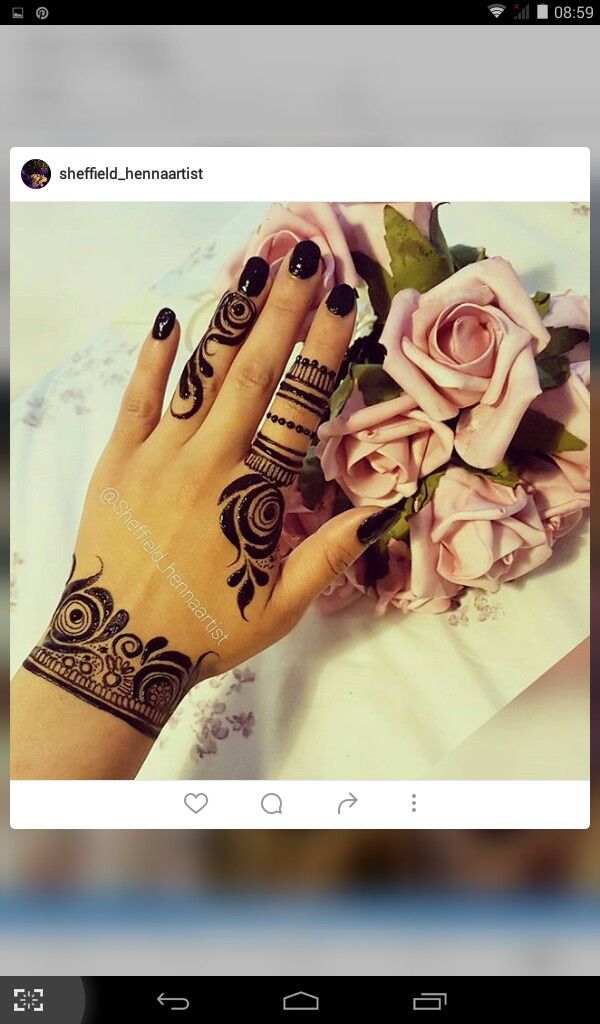
So, I have filtered several simple back finger mehndi design for you.
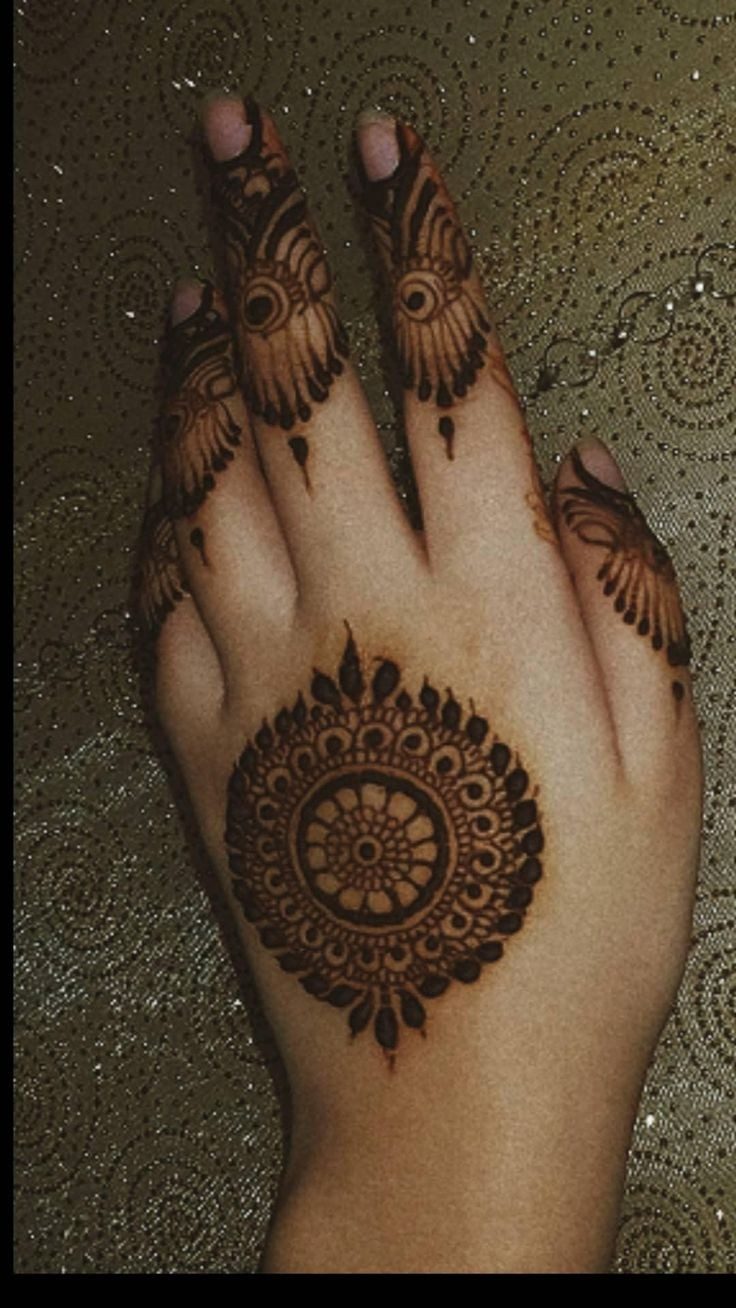
From my top pick below is the most simple yet the most beautiful back finger design from all.
Let’s see how you easily you can draw this design:
- Start making a circle above the nail.
- Either you make sun like lines above the small circle and then connect all the lines with an external circular curved line or just make small u bend lines on top of the small circle.
- Now spread curved lines as done in the below image.
- Keep spreading this design till where the finger starts. Then make dotted curves parallel to the last curved line.
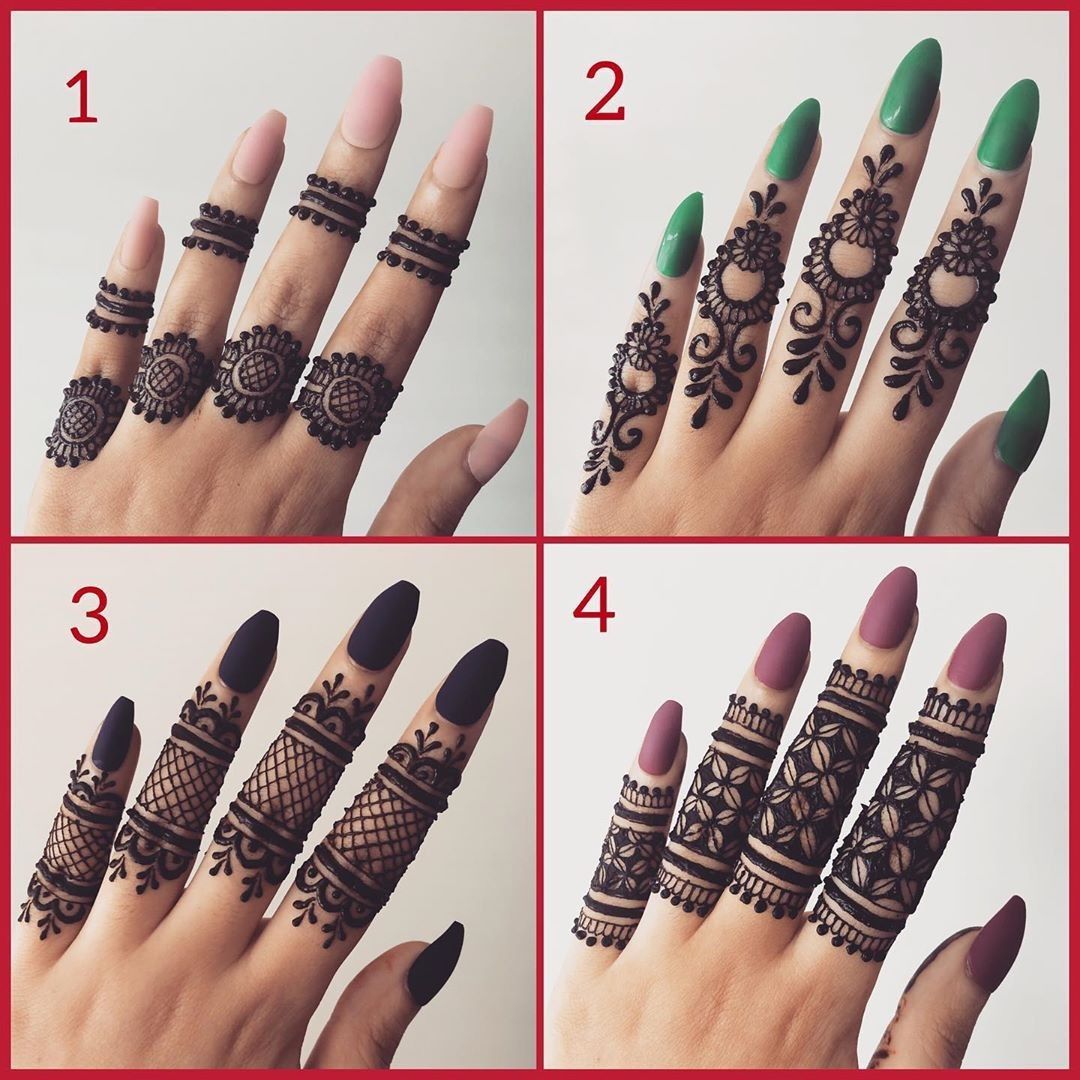
Now take a difficult looking drawing but in reality so easy and simple finger design.
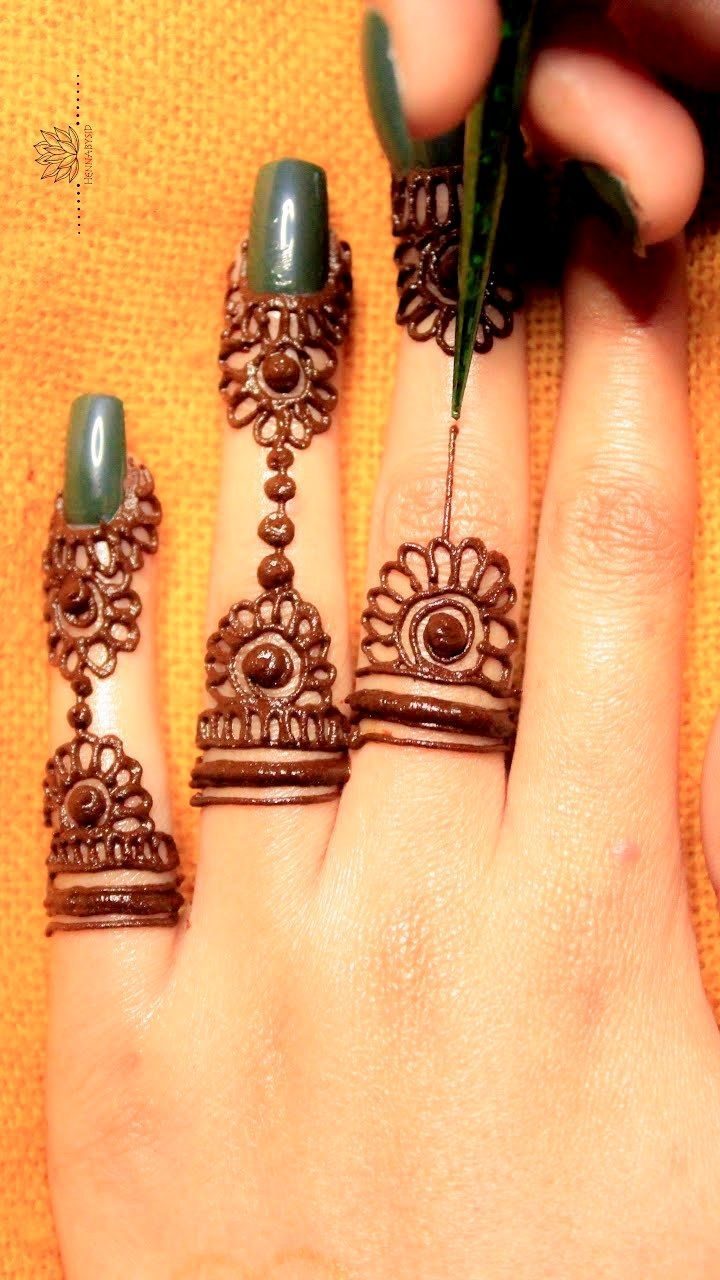
Let’s see how to draw this below Easy and Simple back finger mehndi design:
- First, understand that all four fingers have different designs from one another, but some patterns are repeated in other fingers.
- For the index finger, start making the art from the center with a circle. Then make the flower and a triangular shape towards the name. Similarly other smaller spiral flower design towards the other end.
- The middle finger’s drawing looks complex but it is the simplest.
- For this I will recommend to start from the nail end.
- Start with simple line. Then make a thick parallel line.
- Now almost half an inch apart make another similar ring pattern
- Make another similar ring pattern near where your middle finger starts.
- Now we will proceed making the art from your finger side and go towards the nail.
- Make the spiral or circular design just after the first ring pattern.
- Then make crossed lines by giving enough space.
- Now, fill all alternate squares.
- Then complete the other spiral arts near the nail.
- The Ring finger is even easy and simple to do.
- Make two circular floral designs on near the nail and one near the starting of your finger.
- On the two corners of these floral designs, create two semi spiral designs.
- Now connect the top and bottom with crossed but parallel lines. Make sure you give more space between parallel lines.
- At each corner of the squares formed, add a small dot to get the exact design.
- As for the little finger goes, make three ring pattern design starting from your finger and move towards your nail.
- Then follow the image and cover each pattern.
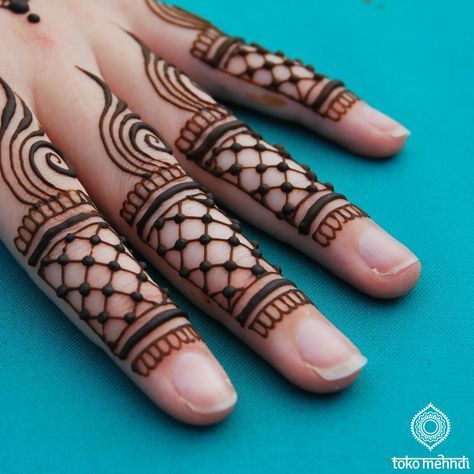
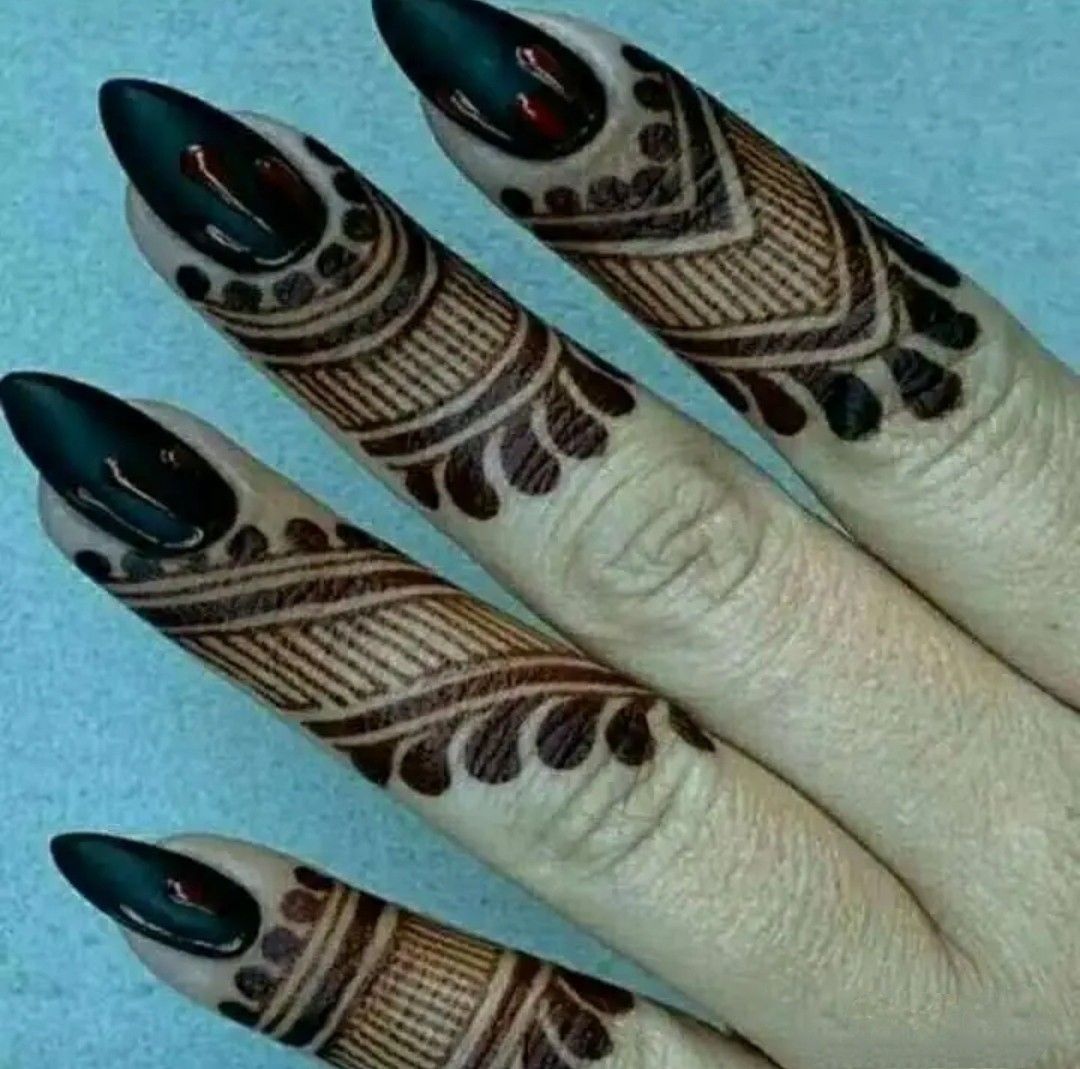
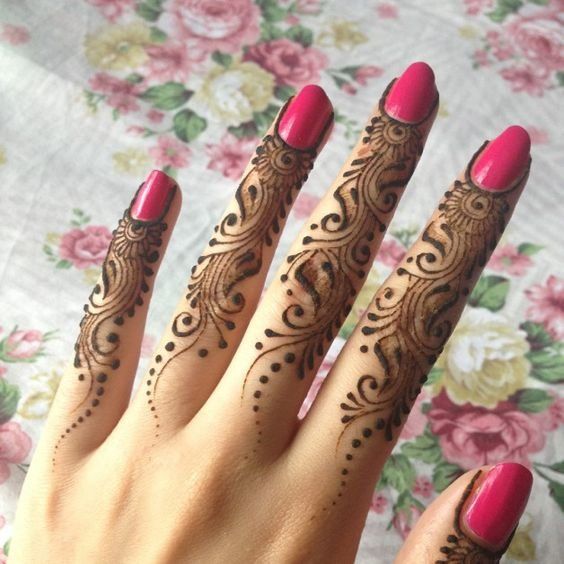
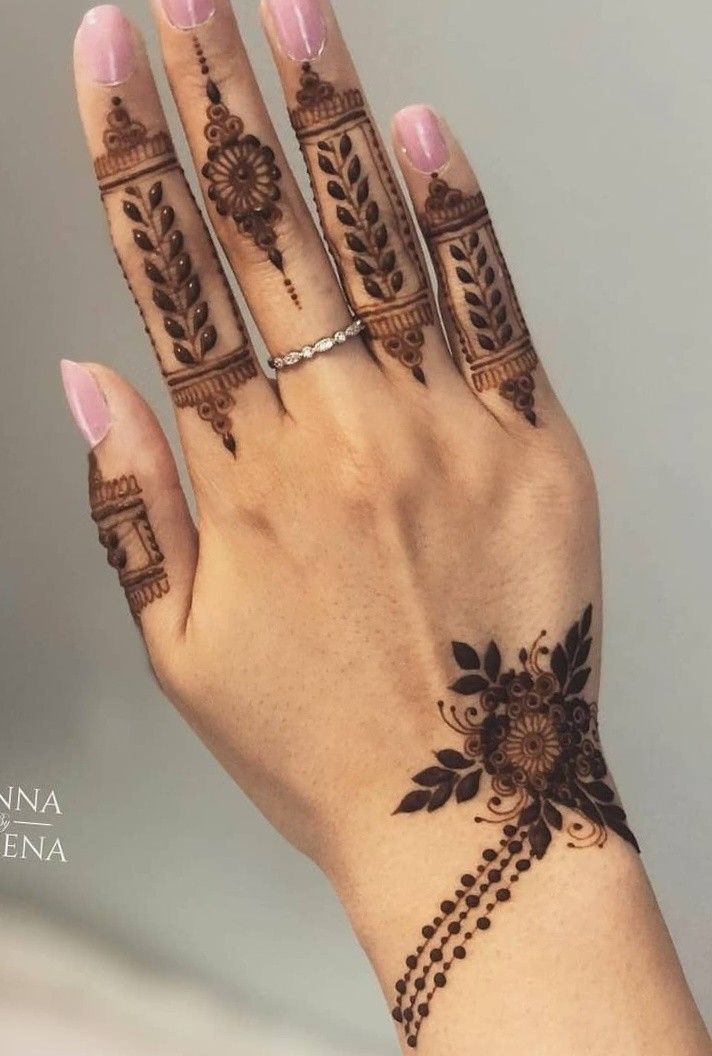
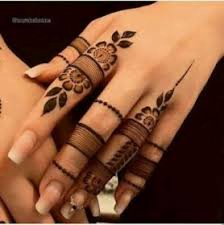
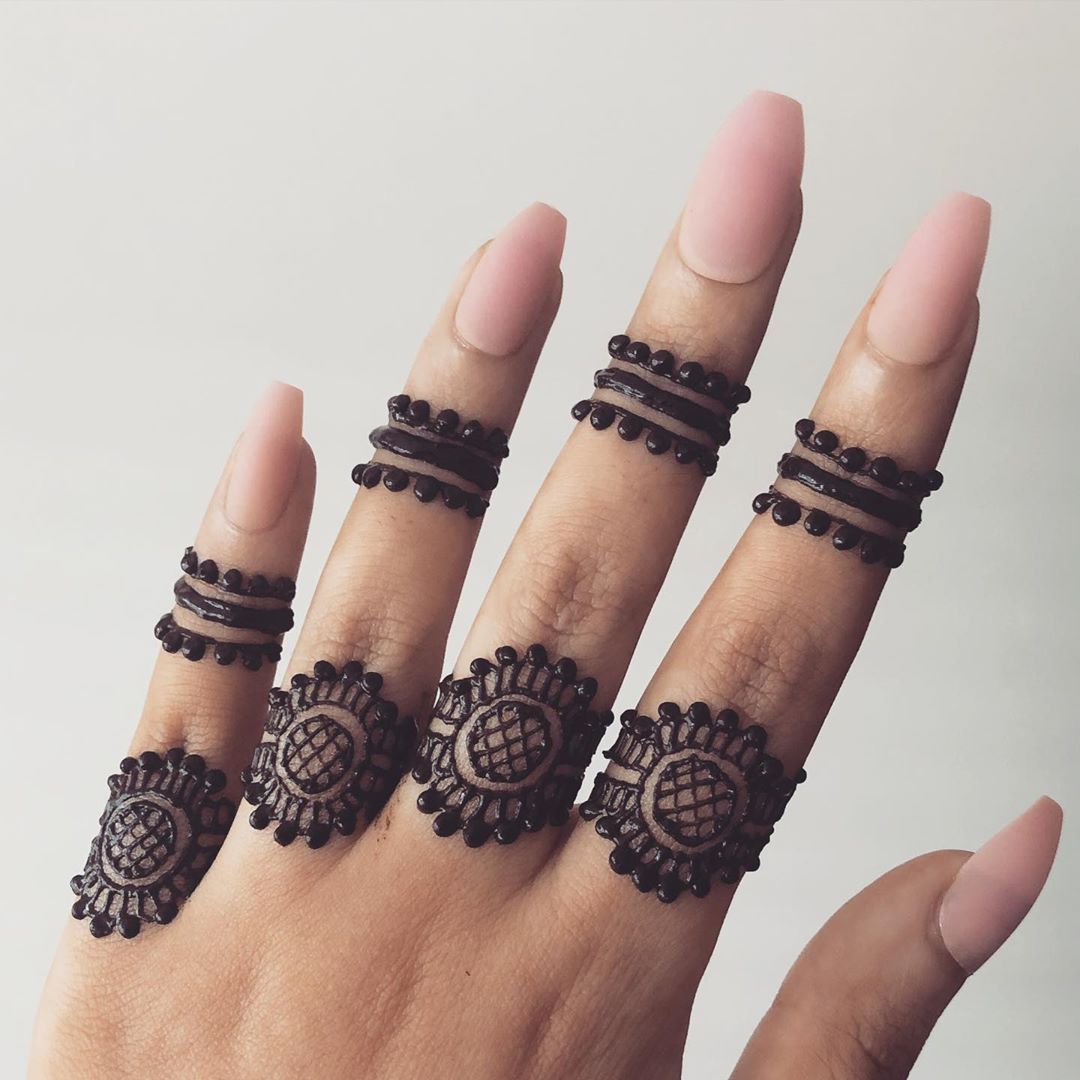
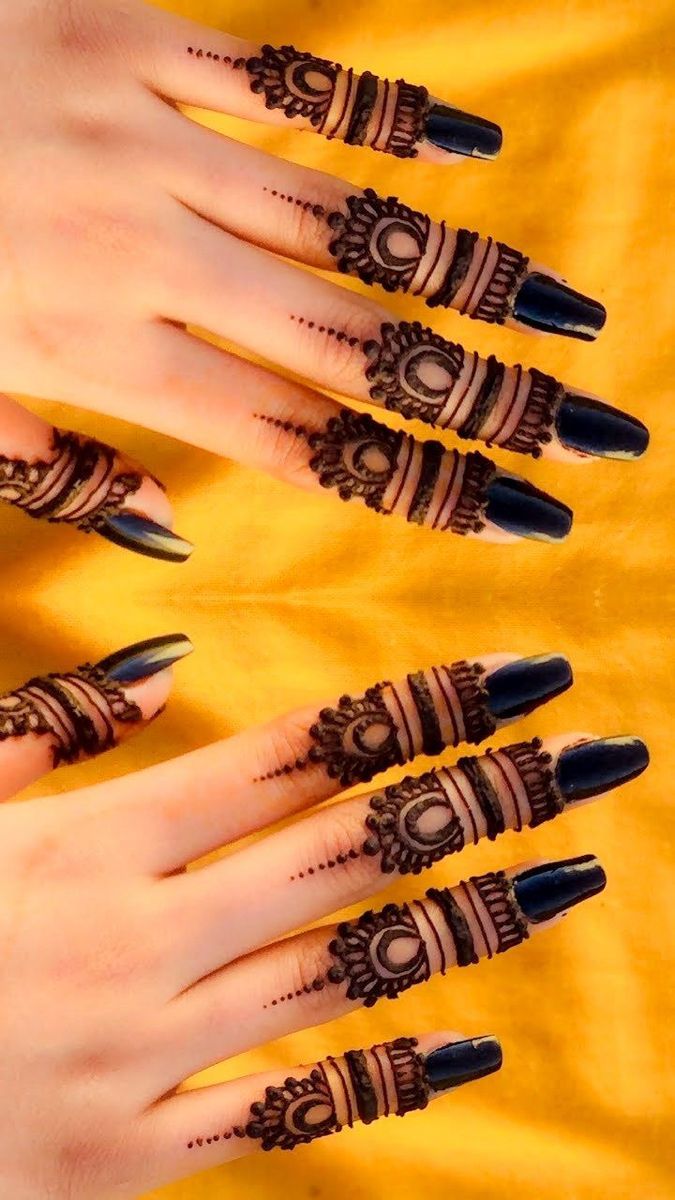
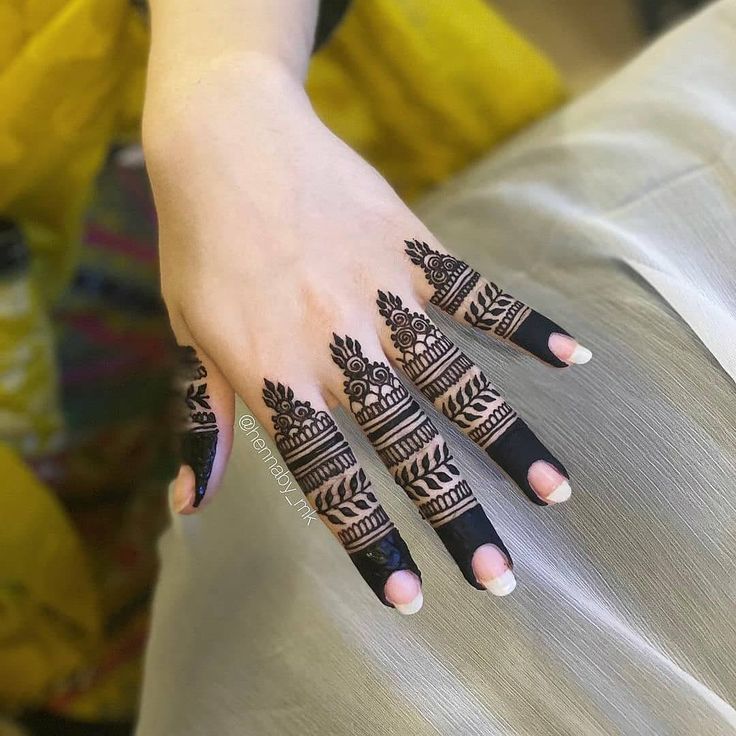
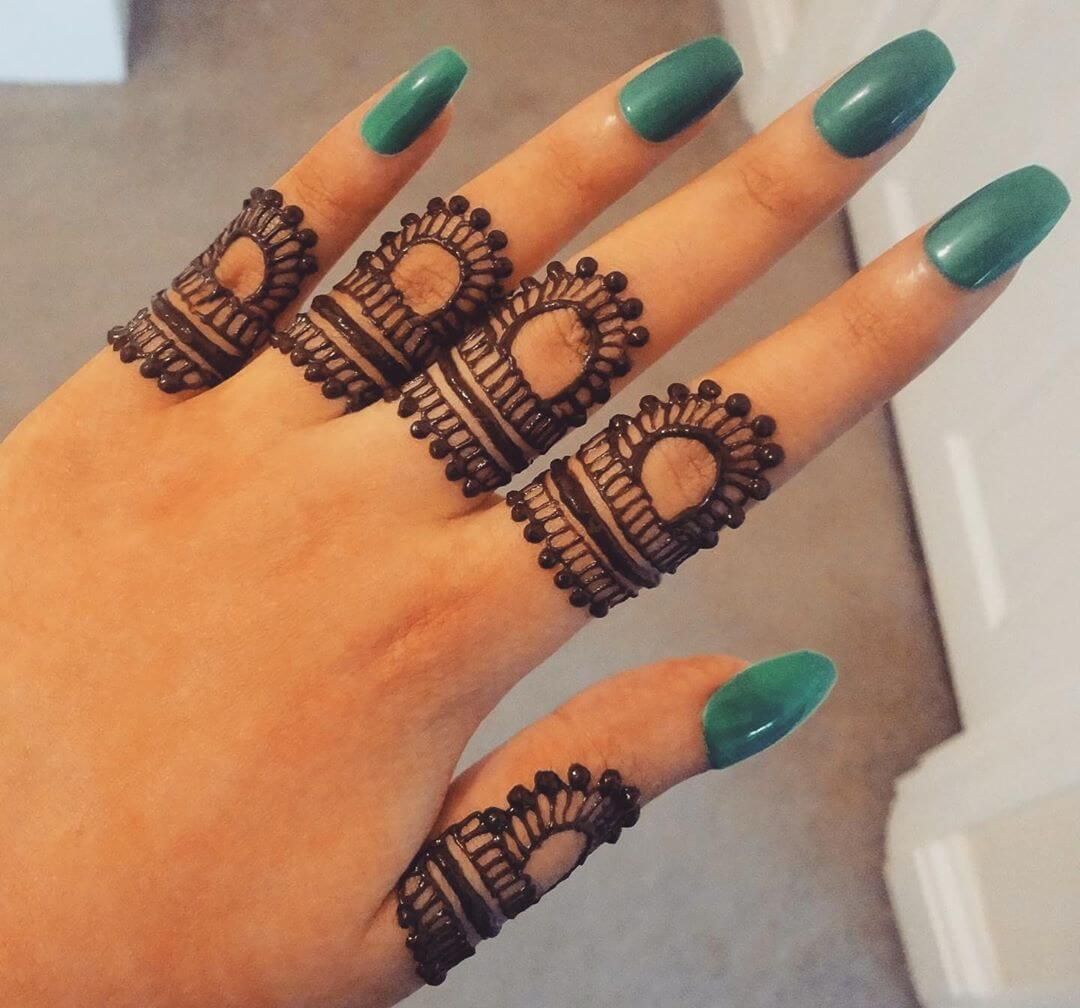
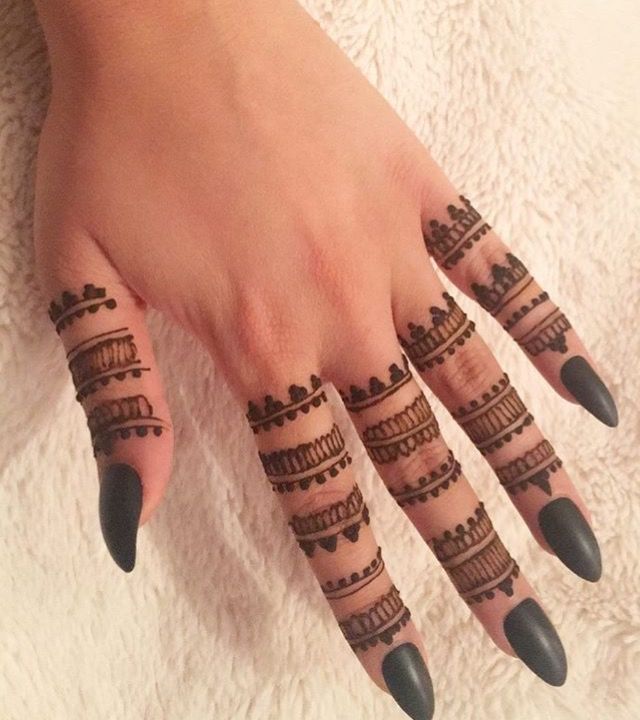
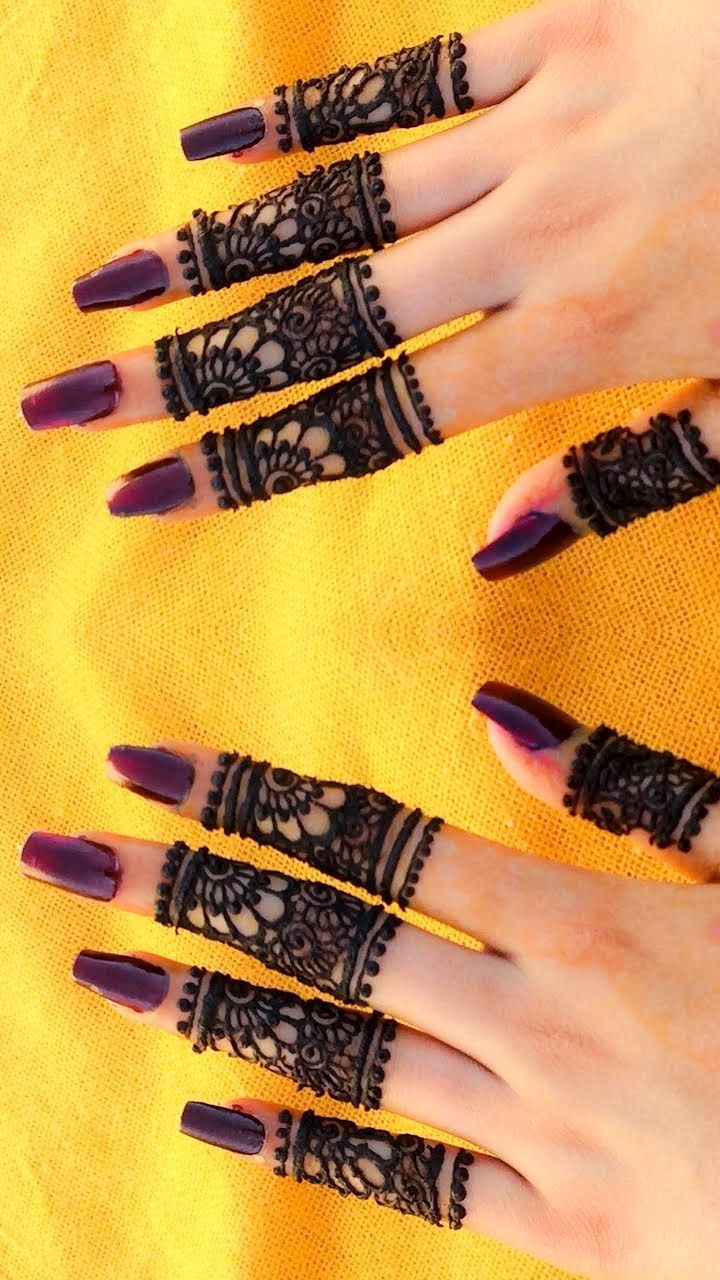
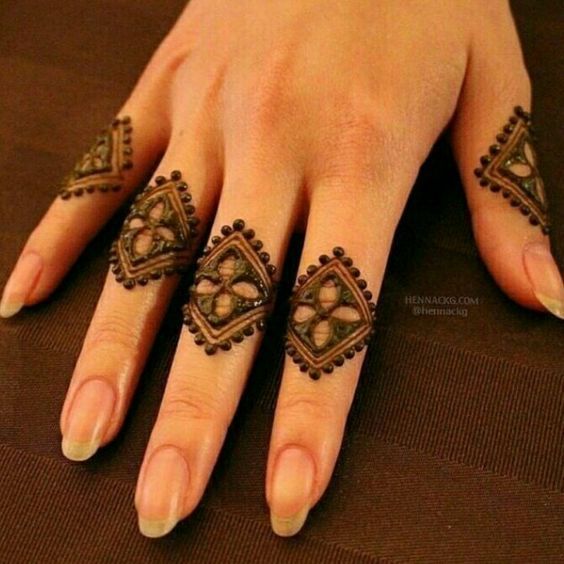
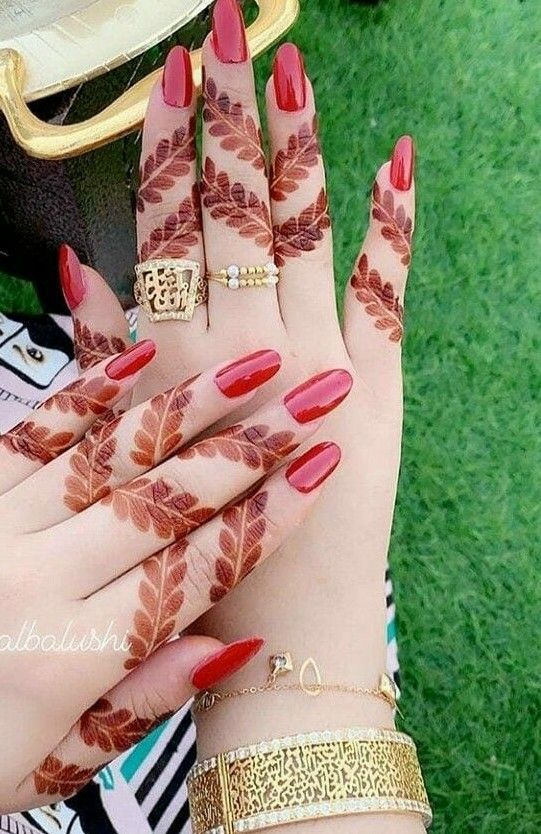
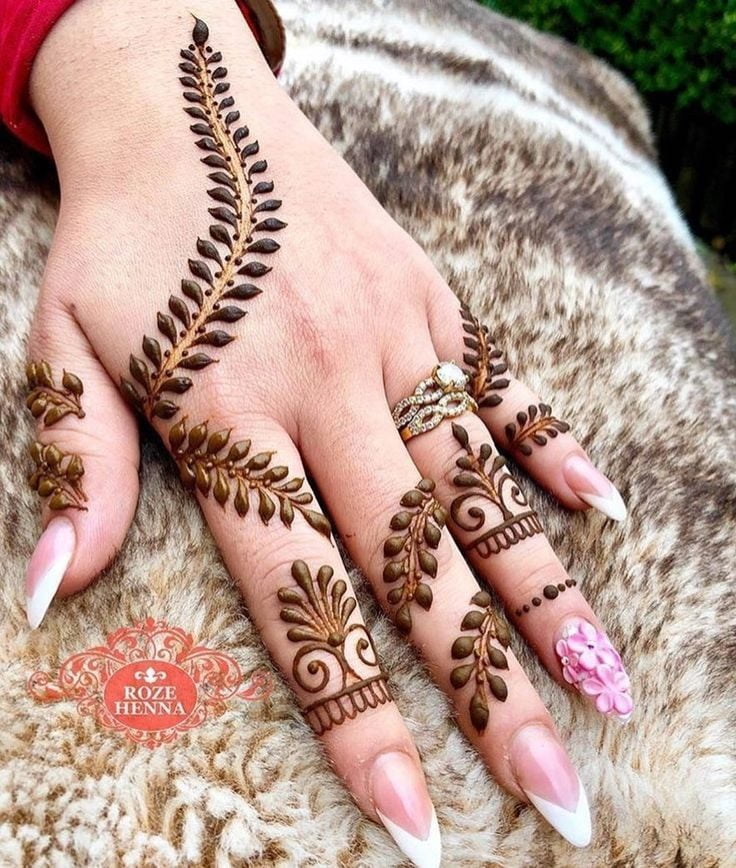
There are almost 20+ other back finger design to choose from the below gallery collection. All of them are very easy and simple to draw it by yourself.
If you need any help anywhere please let me know in the comment section.

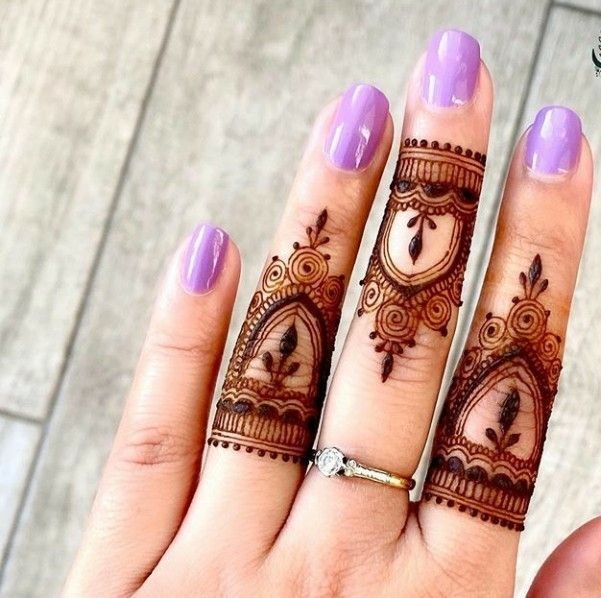

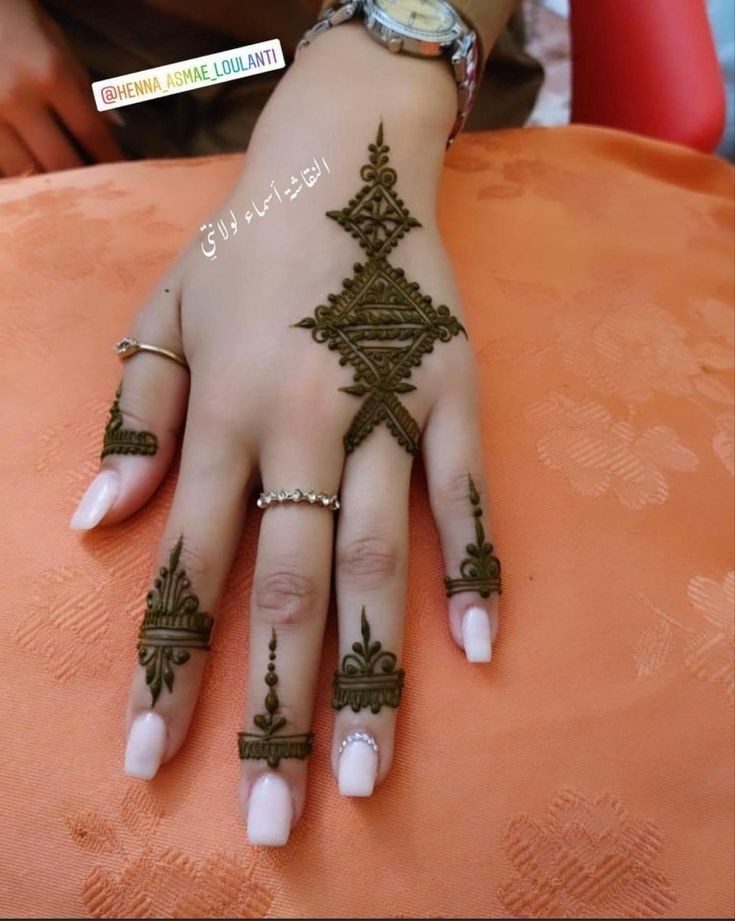
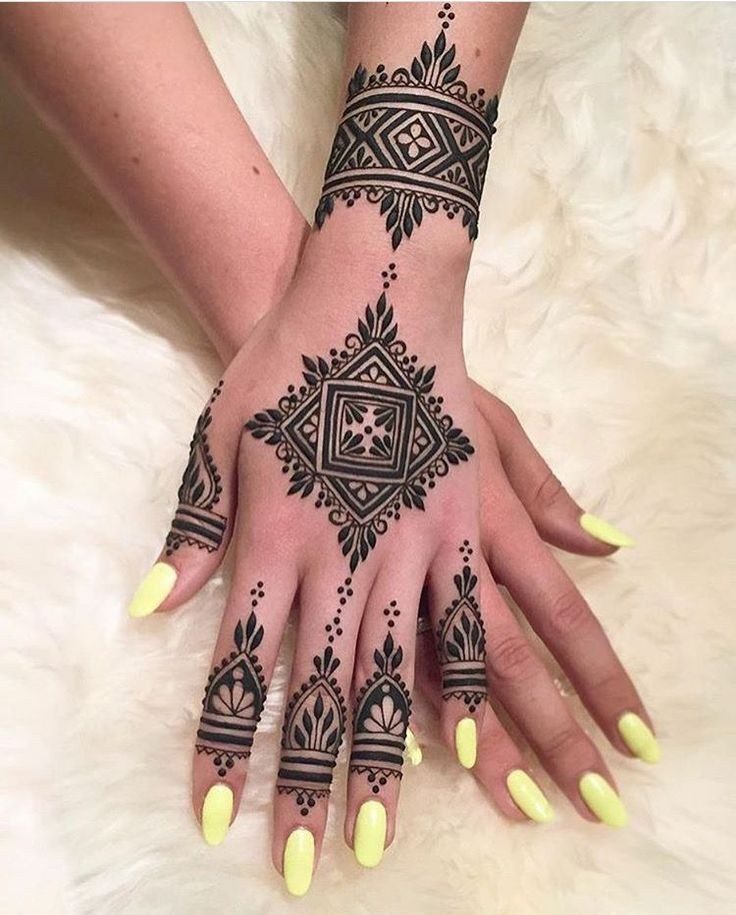
Ring FInger Mehndi Design
Ring finger is important on two special days: Ring ceremony or Wedding but not limited to these days only. You can do a Ring Finger Mehndi design whenever you want.
I have several designs for your special occasions as well as casual days.
Some times the ring is worn on the middle finger and sometimes it is on ring finger which is the fourth finger starting from the thumb. Based on this I have collected different finger design ideas.
Let’s take a look at different types of Ring Finger designs and see which one will suit you the best for you now.
1. Modern Ring Finger Mehndi Design
What defines as a modern day design?
Basically a whole new approach of design that is different from traditional patterns. A new look to the eyes which is also comes with an elegant look.
Having said that, let me take you thorough some of the modern ring finger mehndi design ideas.
Below is my top bet on the modern category of finger design. It covers all fingers but with different designs.
The best part I like is the criss cross pattern on the little finger and the curved leafy petal design on the ring finger.
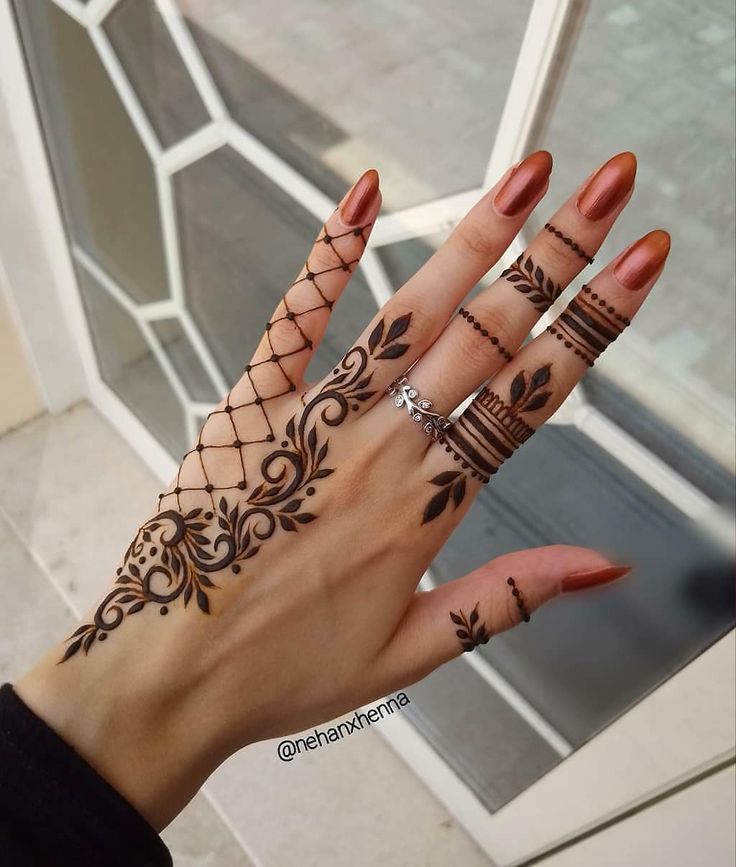
This is my next choice which has all flower design on the ring finger which spreads till the wrist.
Just like the above, this one also has different patterns drawn on all fingers. There is no symmetry and that’s what is an example of modern day ring finger design.
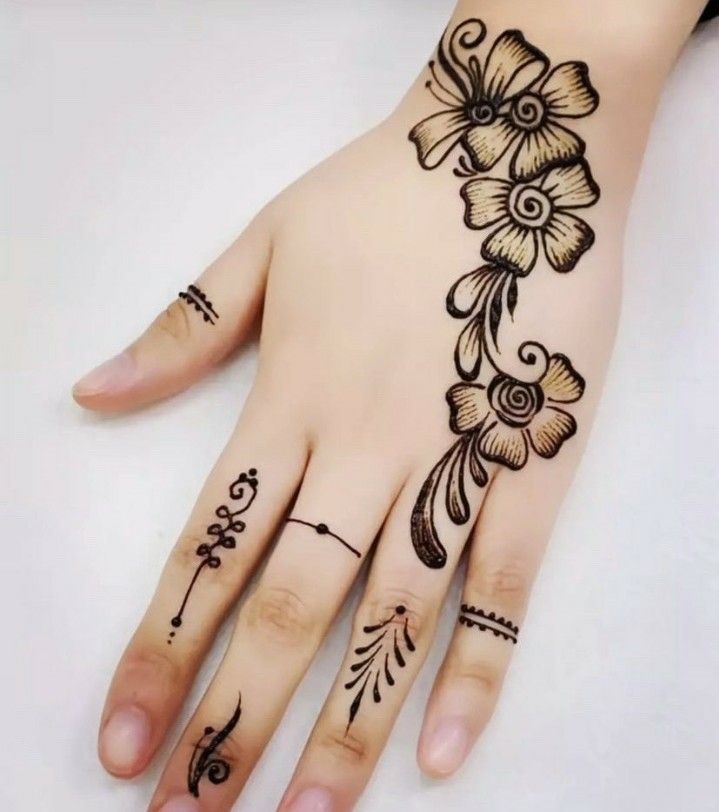
2. Trendy and Unique Ring Finger Design
This section I would say is an extended category of the previous modern designs. Sometimes unique means different than all traditional designs which is naturally becomes modern.
Trendy is one that is liked by many. Now a days all lovely ladies like the modern unique ring finger designs and that becomes trendy.
Having said that, let’s take a look at the below Trendy and Unique finger mehndi designs.
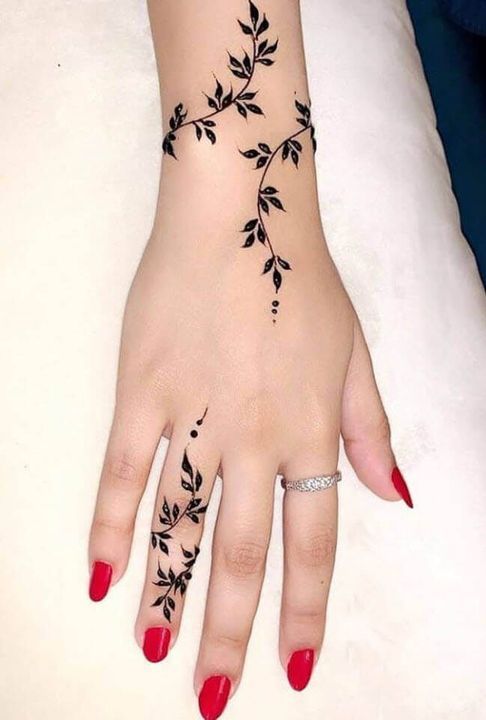
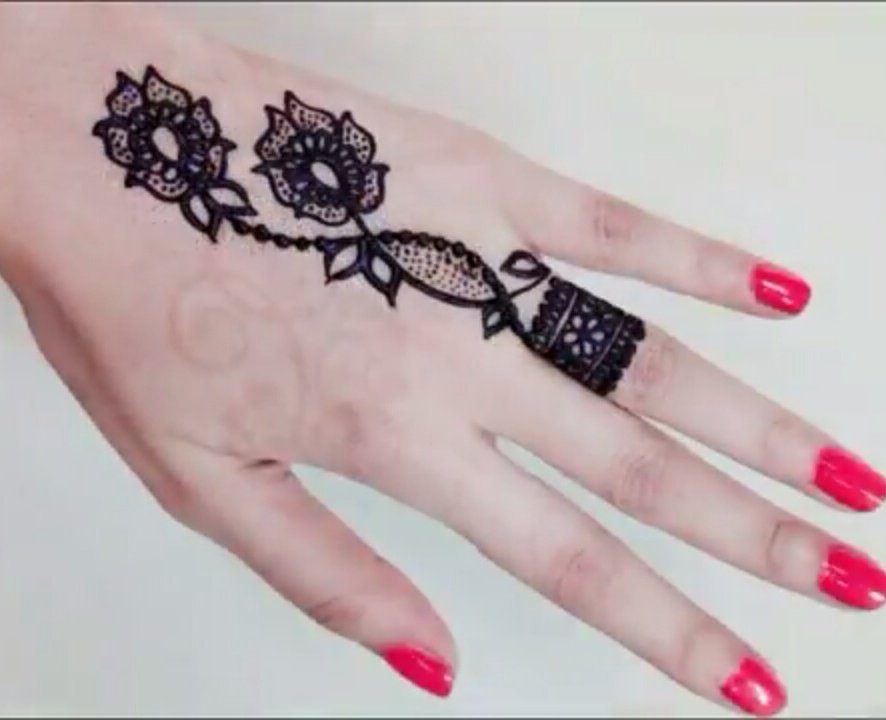
Below is a very minimal design example of a unique finger mehndi art. Curved lines made of leafs only on the ring finger and similar designs around the wrist.
Front Finger Mehndi Design
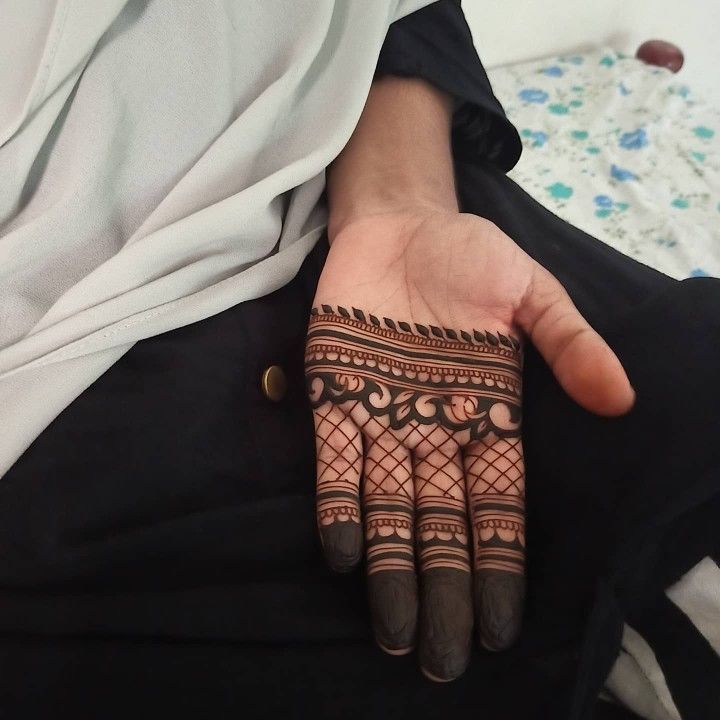
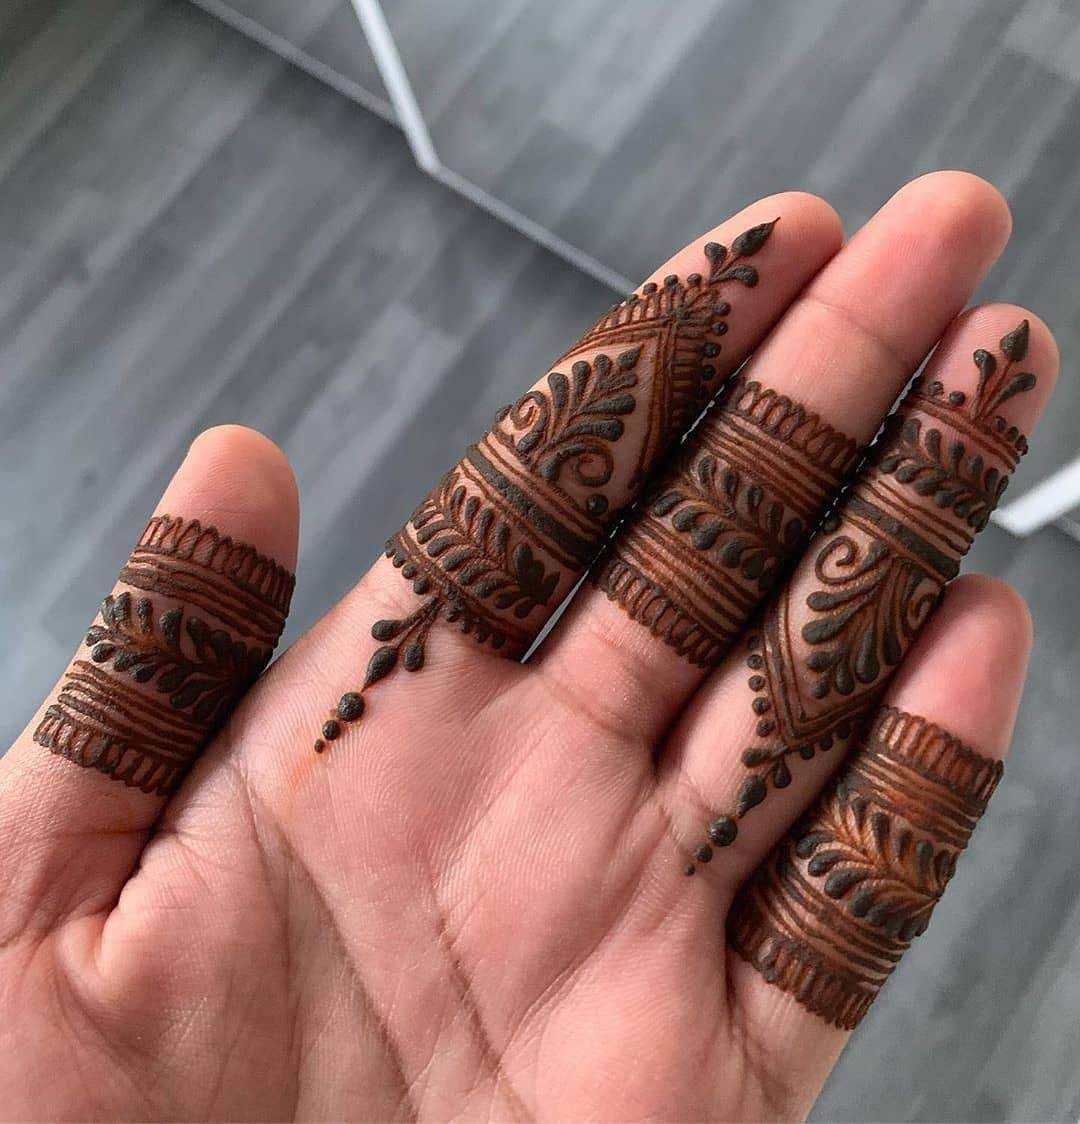
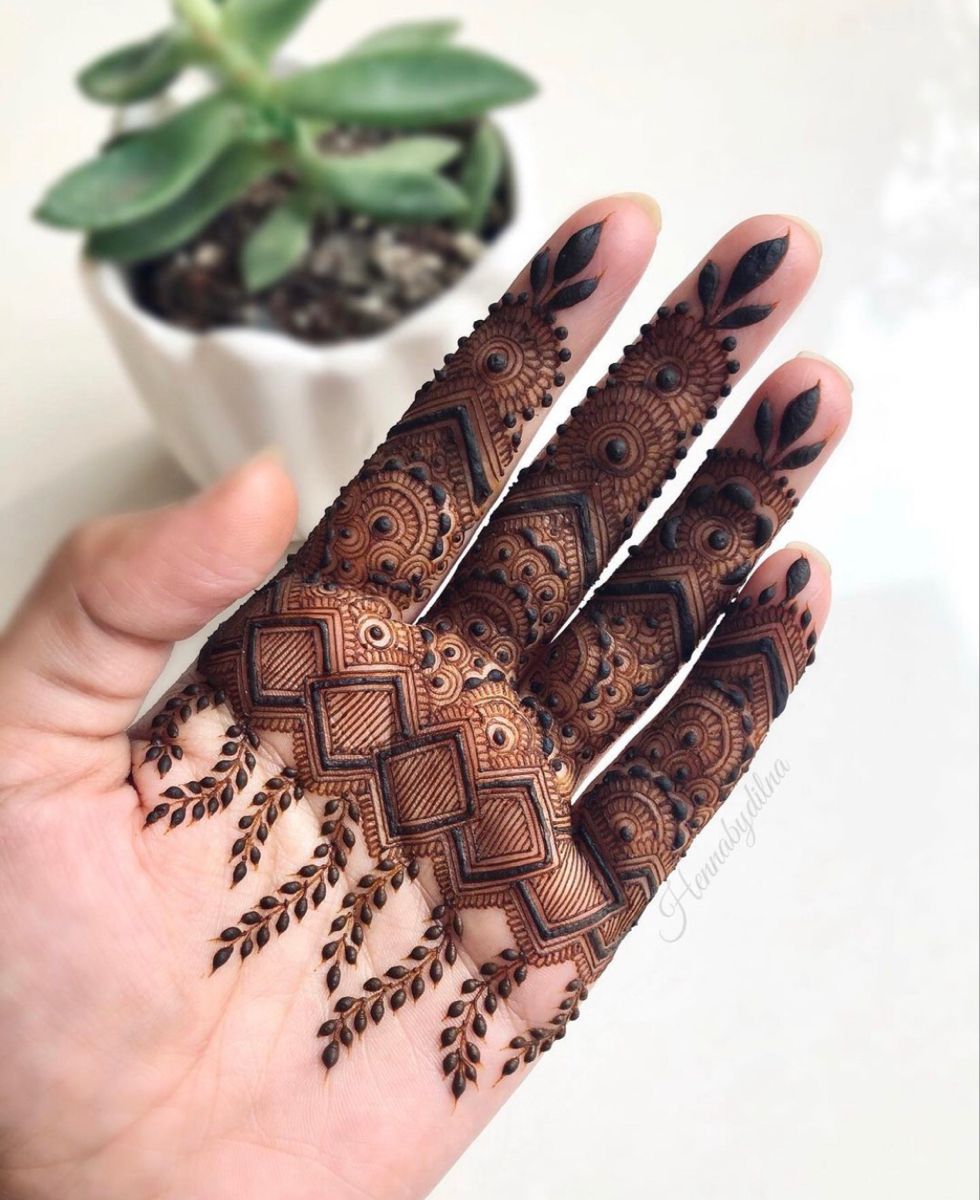
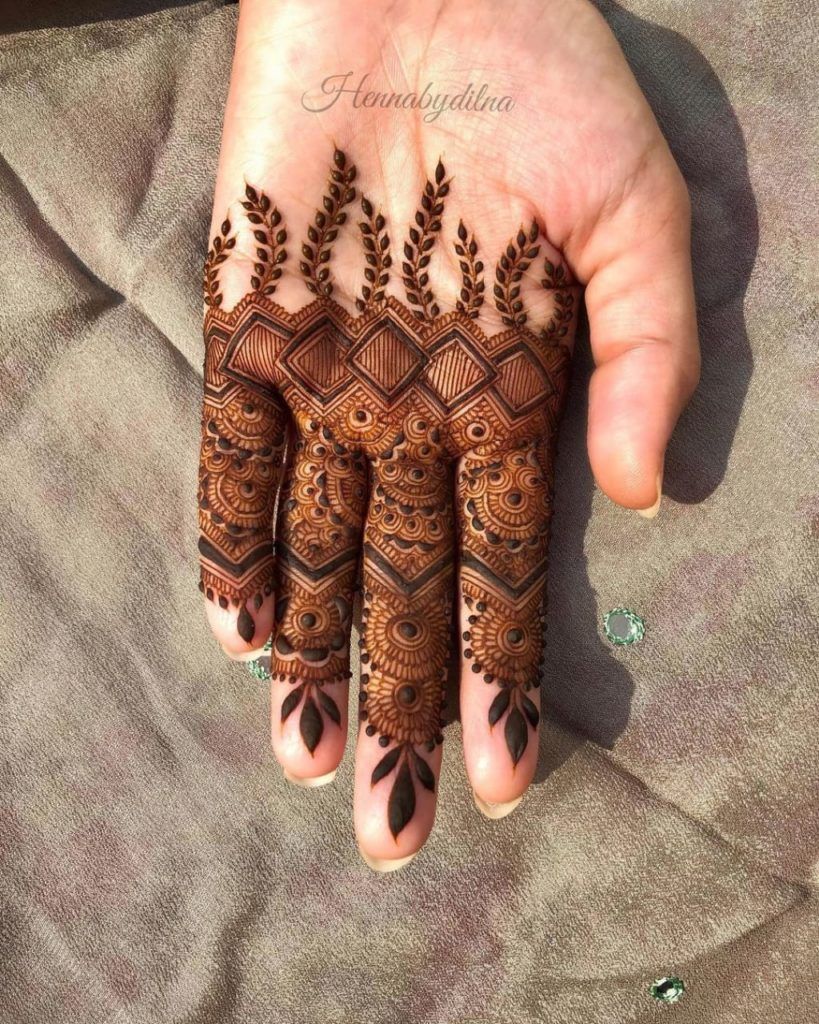
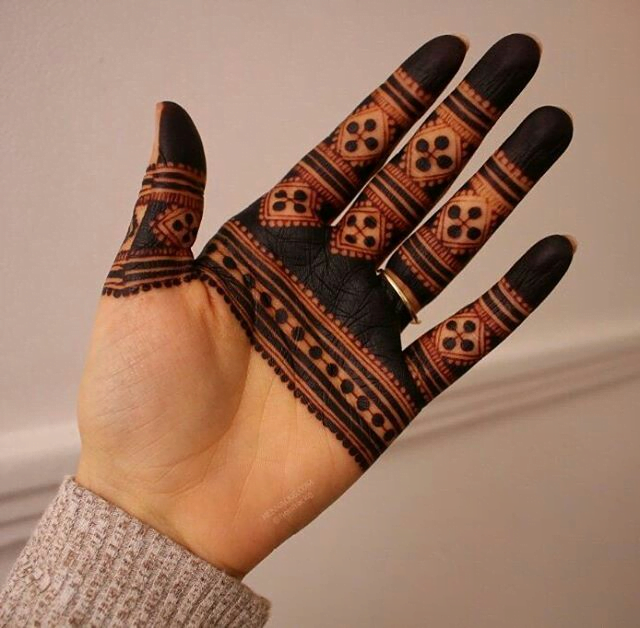
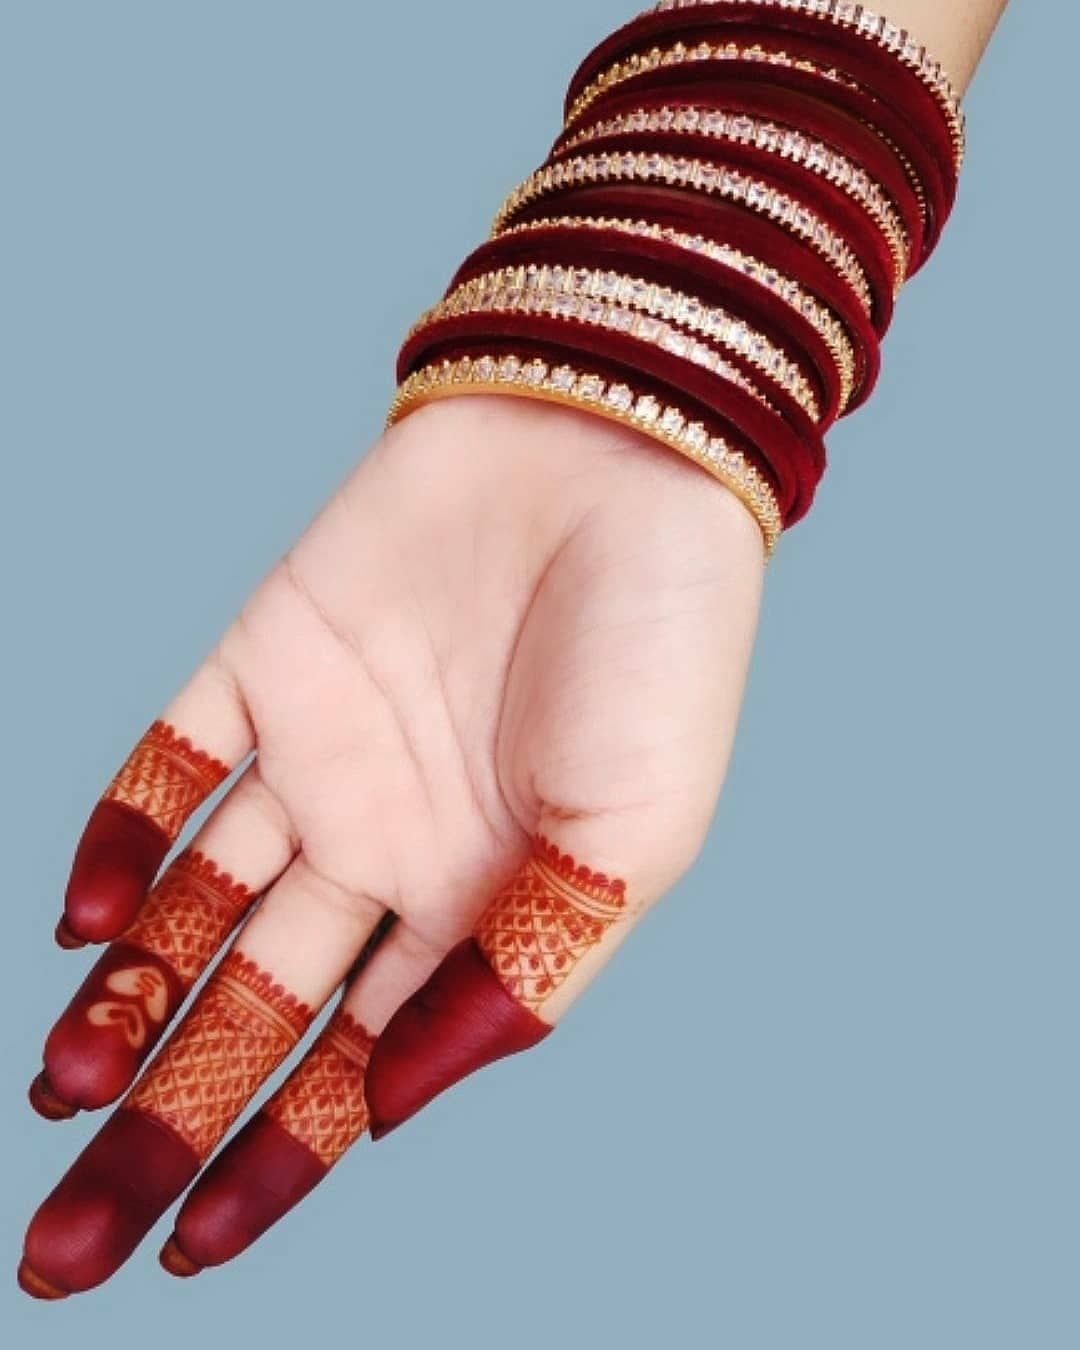
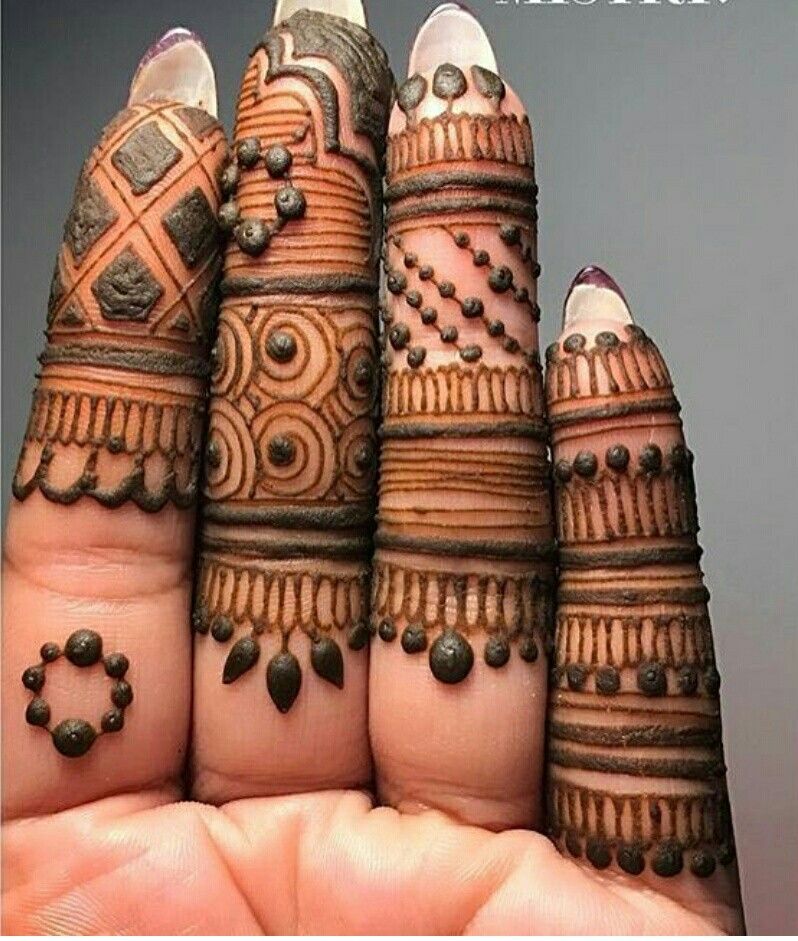
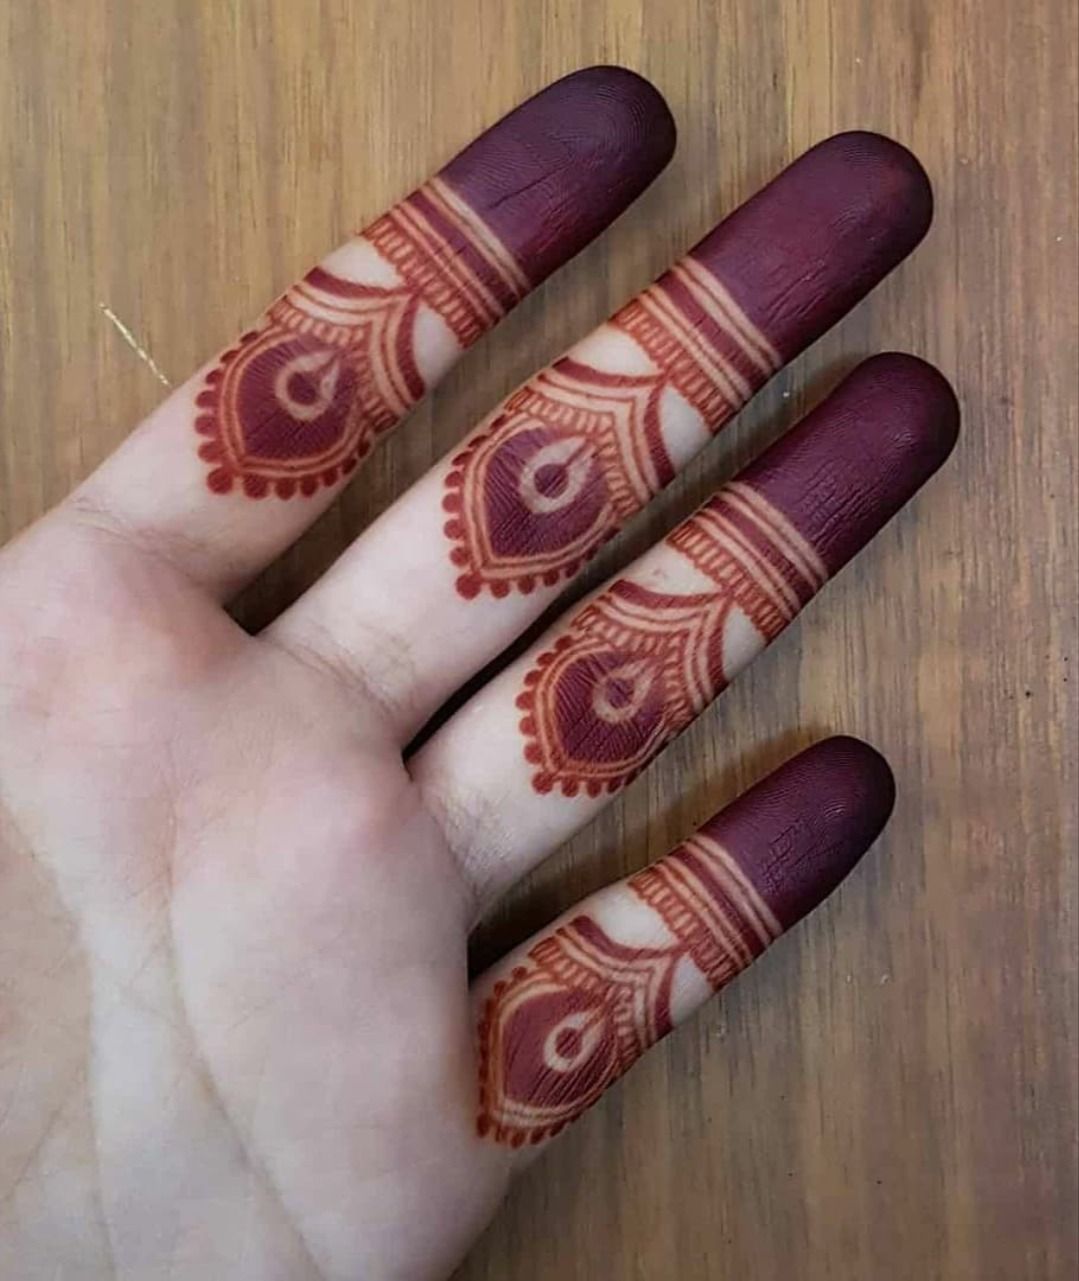
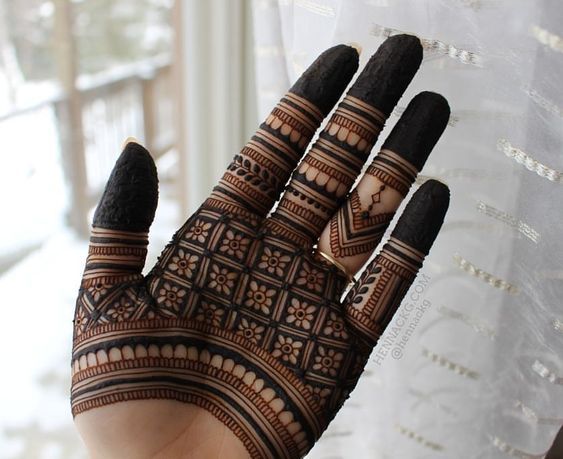
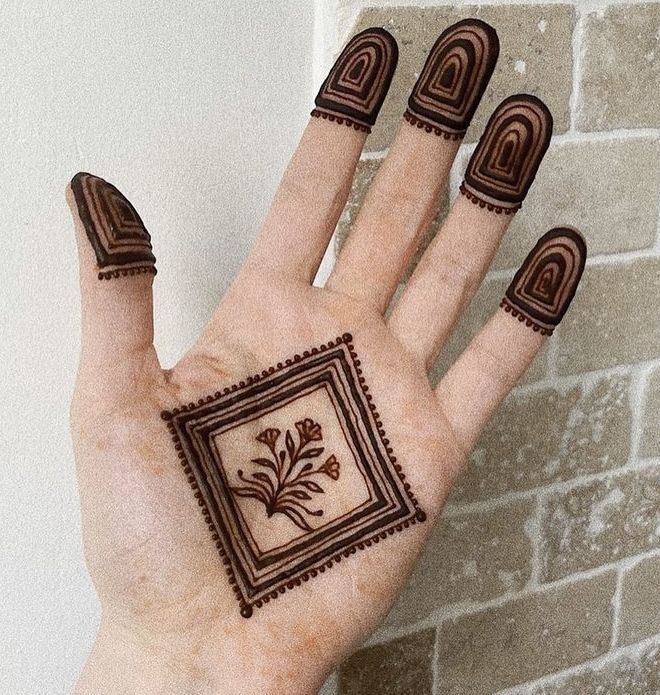
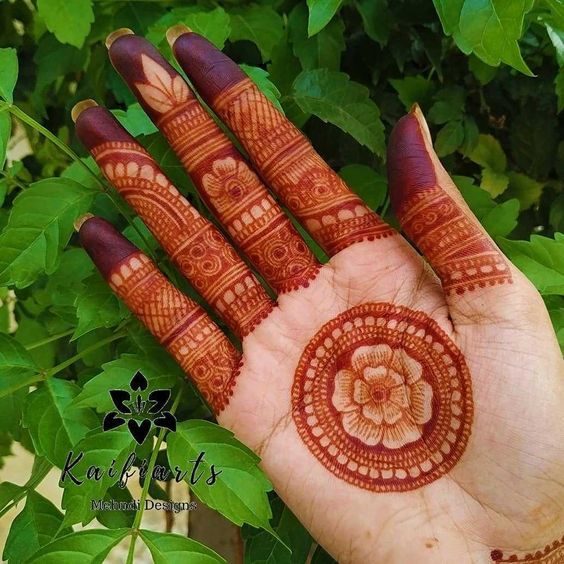
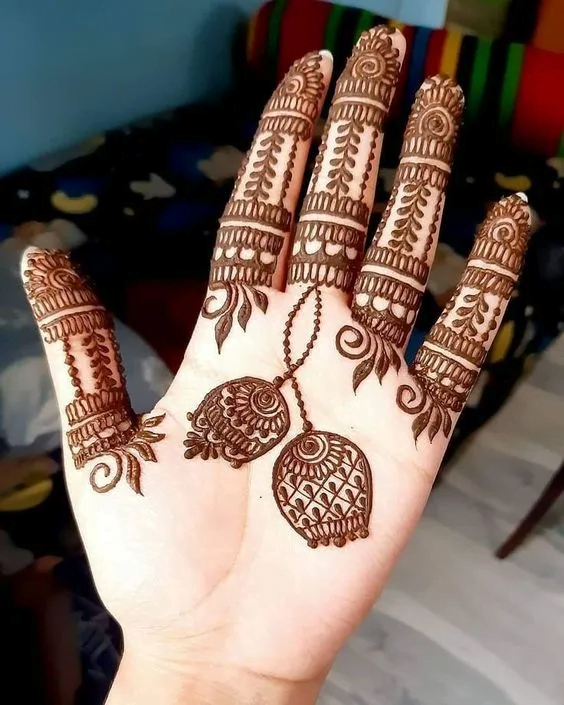
Below is a gallery of 14 front finger mehndi design to choose from.
Of course I have added many other for the front fingers in the above galleries as well.

Conclusion
Finger Mehndi Design is the minimal design and this is the one that is used very frequently because it takes less time as compared to put mehndi art on any other body part.
Even then the One Finger mehndi design is the most stylish and easy to wear design for everyday life.
Whichever design you like for your fingers, we have almost 100+ designs to choose from.
As I always say, you are the most beautiful than the mehndi design art itself. Keep smiling always.
